Reverse engineering with Mini 2

Not an official showcase thread from this time but I’ll keep posting how I use my Mini 2.

Problem
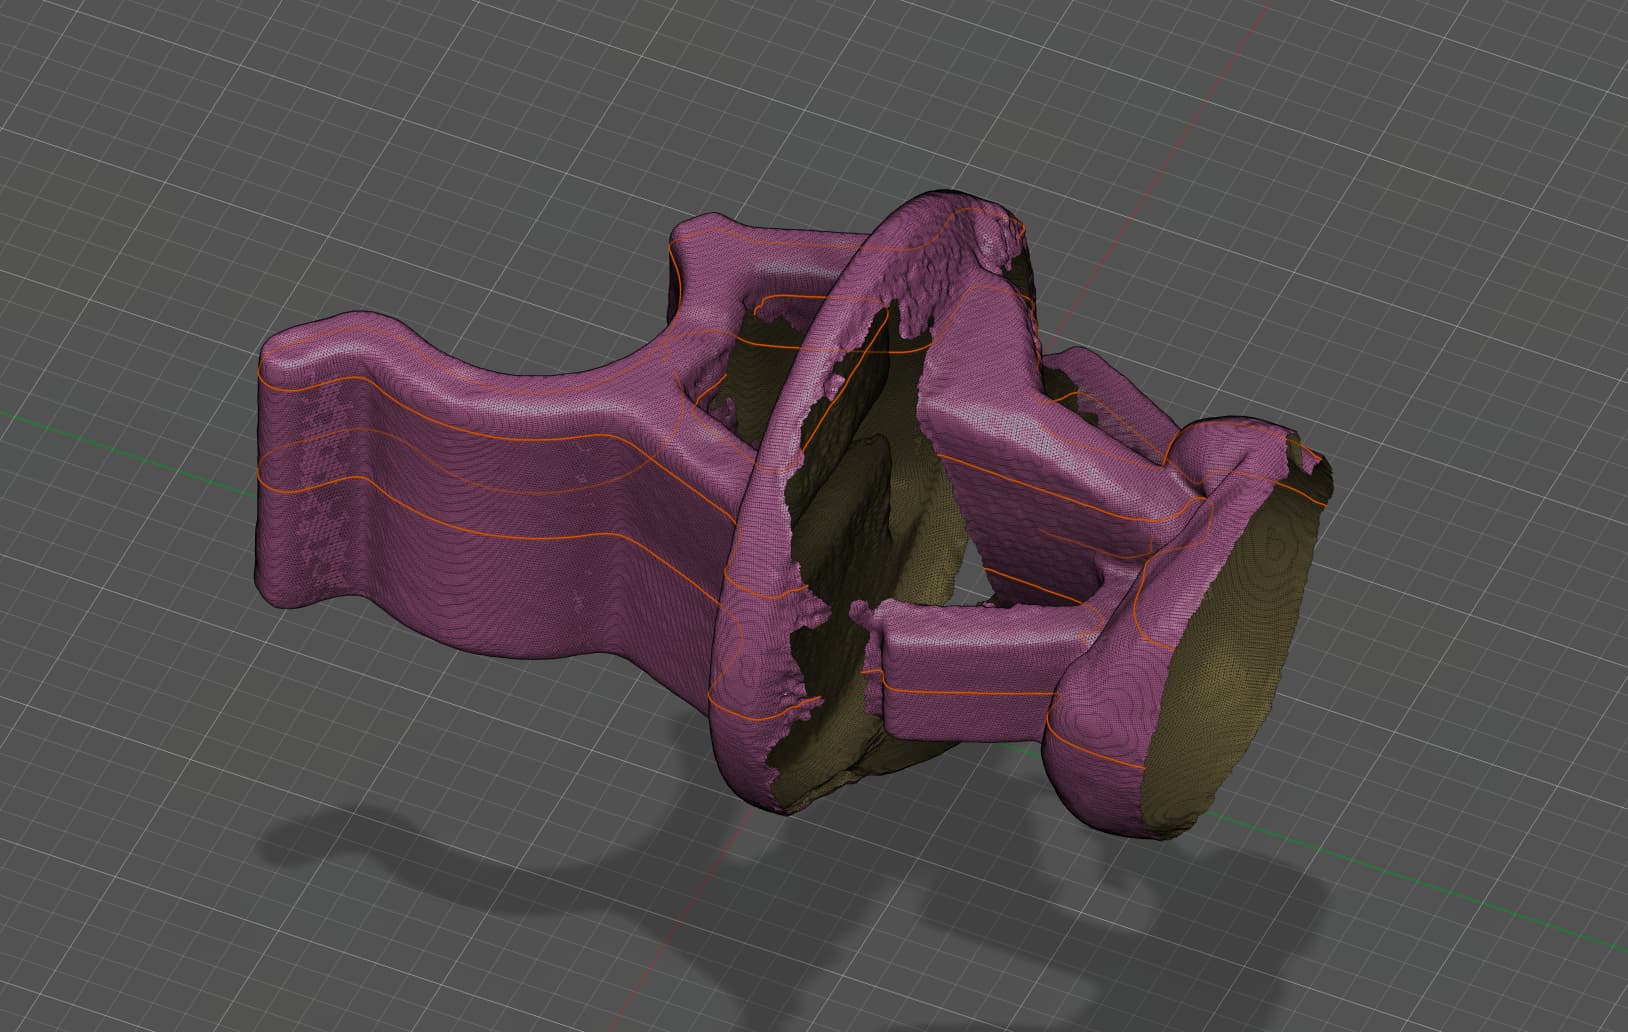
The clip that holds the hood prop on my Honda S2000 has snapped. Very small, plastic part that is difficult to buy due to the age of the car. Let’s scan.

I scanned in Marker mode as I wasn’t mega fussed about detail. I just wanted dimentional accuracy.

Fused

Meshed

Align
I used Bambu Studio to align the part to XYZ

In to Fusion 360

Section sketch
I applied a section sketch at various points on the mesh

Build the part
After doing the section sketches, I extruded and revolved as needed until I had the part.

Finished part
Over to the Bambu X1 and I have my replacement part in ABS ready for fitment.

10 Likes

Very good application! Excellent as always! :clap:

Good job. Just wondering if the FDM parts is strong enough.

It’s only to stop the hood prop from moving about. Hardly any stress on it at all.

1 Like

To make your prints stronger, have you, or anyone tried the method of:
1 Print the part in solid mode. Infill at 100%
2 Get some fine salt. Best to run it through a blender to make a fine powder.
3 get a can and pack the salt all around the part using a dowel to compact it in all holes, and contours of the part.
4 put the can in the oven for a while at approx 400’

This will melt all the layers together form a ridgid part as the salt wont melt.
Using a coarser salt gives a bumpier exterior.

What a fab idea. Well done.

Hello Riot,

I am just new on this matter, which software(s) did you use for the reverse engineering?

Thank you.

I use a variety of software.
Revoscan
Instant Meshes
Meshmixer
Fusion 360
OnShape