Last time I gave a fairly simple introduction to MIRACO, and since I’ve seen many people using the scanner to scan things with thin edges, I decided to give it a try this time.
Make sure to check out the final scan results! It will definitely amaze you.
My computer version: HP ZHAN 66 Pro 14 inch G5 Notebook PC.
Software version: 5.4.6
the size of the item: 20cm4cm0.5cm
- Scan Settings
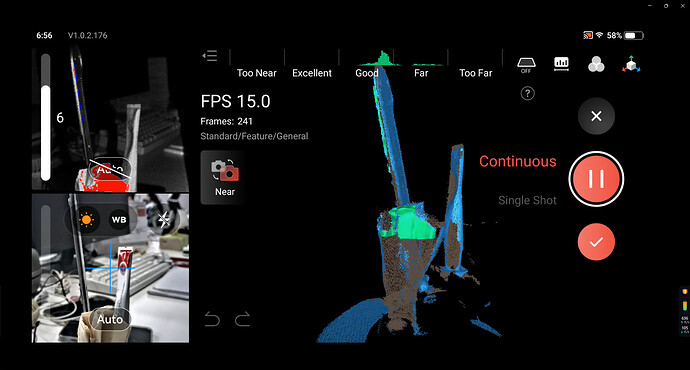
- Scanning Process
- Result
During this time, I scanned a total of 3-5 times in order to wait for the best results for my merge later.
I transfer these modeling data to the computer. Please note that you cannot open the software that stores the data when transferring the data, otherwise, MIRACO cannot connect to the computer with the data cable. Common storage software are Google Drive and so on.
- Post-processing
I scanned a total of three models, named 1, 2, and 3; different icons represent different statuses. Model 1 is just Fusion; models 2 and 3 indicate that Mesh processing has been done.
(1)Point Cloud Edit
(2)Mesh Edit
(3)Merge
(4)The Final Result
I think this result is lacking a bit of detail and I will continue to scan for enhancements.
I’m not too pleased with the results I mentioned earlier; the edge capture isn’t great. So, I’m going to give it another try.
The second attempt!
- Improvement
Pre-scan preparation:
First, I went to an area with a clean background to conduct the scan;
Second, I sprayed the object I was scanning. This might help improve the outcomes.
Lastly, I changed the feature reference object to one that is about the same height as the scan, which should help reduce the chances of loss.

- Scan Settings
I made some adjustments to the Scanning Settings.
High Accuracy: this also helps with the details.
Feature Mode;
General;
No Color;
A quick pre-scan tip!
When scanning thin objects here, choosing the right reference object (feature object) can be a bit tricky.
First: Try to select a large object which, when the turntable rotates, will obstruct the scanner’s line of sight;
Second: Choose a feature object that is about the same height as the object being scanned. This helps prevent tracking loss when scanning the top.
Third: There’s a knack for positioning the object and reference object for scanning. When setting them up, try to place the side with the most detail in the easiest position to scan. Make sure the thinnest part is near the feature object, so you won’t lose tracking when scanning the edges.
- Scanning Process
- Post-processing
I think this mode is easy to use, and will keep the detail, so I used it. But if you need high accuracy, please don’t use One-Tap Edit.
- The Final result
I imported the model into the computer just to get a clearer view of the results.
If you have any questions, feel free to let me know in the comments section.


