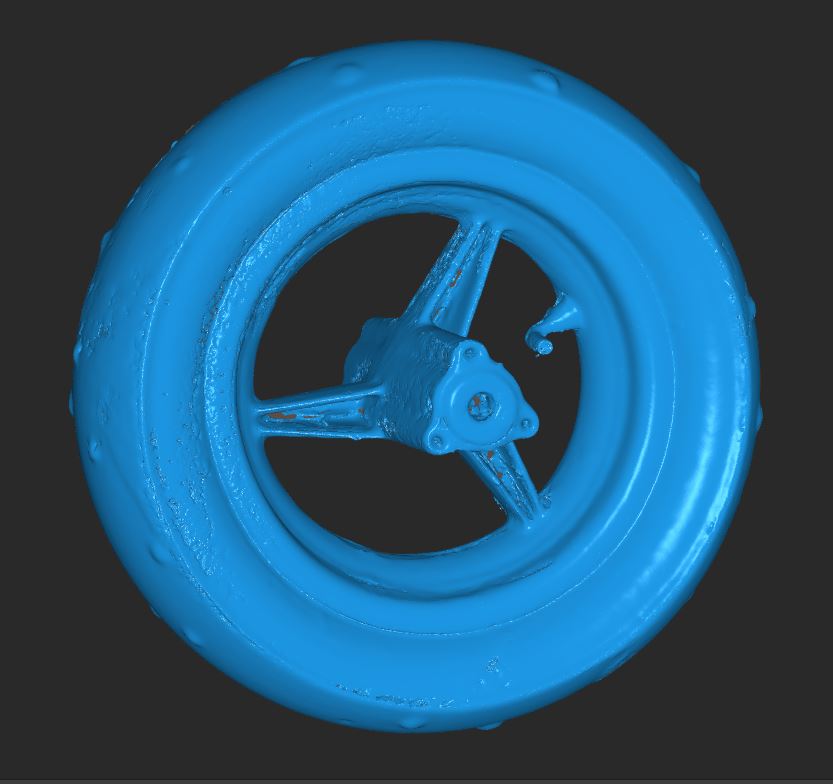
For some reason the Miraco scan ends up dropping around 5mm on a single rotation. Any suggestions?
Near the center of the image the blue tack should line up, as should the rim.
For some reason the Miraco scan ends up dropping around 5mm on a single rotation. Any suggestions?
Near the center of the image the blue tack should line up, as should the rim.
hi! did you try different rotation speeds? do you get always the same result no matter what rotation speed used?
At higher speeds the blue tack turns into elongated features up to about 25mm long.
Have just tried slowest setting and still getting the offset.
that’s weird. maybe placing more bluetacks or normal markers would be better? eventually there is one spot where it loses tracking resp. missalignes for some reasons? maybe it would be enough to place some more reference points only there?
sharing some photos from around that object could help us figure it out.
Hi @Gary
Near mode needs lots of features to be very closer together for the highest accuracy , no matter you use markets or the blue tack .
This object size should not be scanned using Nar mode to beging with , but Far mode and the best Standard mode in place of High .
It is like taking a picture of an landscape using a microscope .
Using the proper modes for a proper sized objects is the way to go .
Thank you, the item is around or under 12" so thought near would be OK.
After reading markers should be 3 to 5 mm apart, I’ve no where near enough features for near mode.
I’ll give far a go and the crumpled paper idea from discord and see what I get.
Great analogy, I’m all for learning the right tool for job ![]()
The problem is
You don’t need a Near mode for that object , scanning it in Near mode or Far mode will not change for you anything , still the same result .
Near mode is almost the same as scanning objects with MINI … miniatures not 12inches , maybe max 6inches with lots of features at least 3 of them always visible … you don’t need that resolution here , you can fuse it at 0.5mm and still fine …
Sorry Gary …
It is not the scanner error here but how it was used .
I’m more than happy to accept my part in bad results ![]()
My initial thoughts when something goes wrong is that its my setup and what I’m doing.
It’s no surprise it’s me, as I’ve not actualy had any hardware or software issues as yet.
Thanks as always for the information ![]()
![]()
Sorry somehow I missed this reply of yours … yes how higher the accuracy and distance for 3D structured light scanners how closer the markers or features should be .
That why you should use smaller markers when scanning at that small distance , Revopoint even have now 2 types of markers with much smaller for Mini or Miraco near mode …
The Miraco near mode should be threaded almost like MINI , if Miraco had a blue laser in Near mode it would be the same as MINI and with 0.02 mm accuracy … sadly infrared do not support that level of accuracy due to induced noises by infrared what is completely normal behavior and kind of side effect of that .
Crumbled paper or even a simple T-shirt would do that trick too , and if I would scan it , I would not use tripod to scan it but handheld .
Nothing negative about that , after all the best way of learning your new toll is trial and error . Nothing better than that … like in a Game , you pass the level as many time until you make it … nobody can take that experience from you … neither you can put that experience in a tutorial .
If that was hardware issue you will be due to replacement.
I go through this so many times in the past , just trying to save you future frustrations .
And good you asked about , it may help other user , and nobody will lose their crown in the process .
It is good to learn your tool by mistakes and know what you have in your hands and how and when use it proper … not one object is the same , but the principles of using 3D structured light scanners and rules can’t be cheated .
Thank you for the advice on this one ![]()
Not the best set up for access around the wheel tonight, but what a huge difference in results.
I had a scrunched up jumper round the base of the wheel, then flipped the wheel over and scanned it again.
Most of the over scan is due to not being able to get round the object smoothly, but I’m happy with the improvement
I’ll be doing it again but under more suitable conditions with space to move all round the wheel next.
Great job Gary ! Practice makes perfect!
And you more than welcome !