BETA DISCLAIMER:
This showcase was made with a beta version of MIRACO and its software.
Please note that this is a beta prototype, and the product ID and packaging are for reference only. The final mass-produced version may have differences.
Oh boy was not expecting this.
The name of the scanner is Miraco (Mi-raco). Which is English for Miracle (according to google translates from Italian to English)
And a Miracle it is.
It’s coming to a Kickstart very soon, you do not want to miss this one.
Check the link below
Pre order MIRACO now on Revopoint official website:Revopoint MIRACO: Big and Small Object Standalone 3D Scanning
Read on to find out why the Miraco is a Miracle.
**Unboxing/ First impressions**
The first glimpse of the Miraco is seen on the box.

It looks different from most scanners. Let’s open the box and find out why.
Removing the top of the box. The first thing I see is wall outlets.

Meaning it will be chargeable.
Pulling out the items on top.
Left to right
Black sheet for blocking out the background when scanning
Turntable Marker top
Magic Tracking Mat with a pack of markers.

The bust, portable turn table, turntable usb-c cable, and a tripod.

Followed by usb-c to usb-c cable. Wrist strip, and a usb-c wall charger with multi region adapters.

The usb-c charger is 65w. It can fast charge the Miraco from 0 to 80% in just 30mins


And the final accessory in the box.
A usb-c to hdmi adapter. ![]()

**Time for the Main Event.**
The scanner


My initial thoughts are it looks like a DSLR camera.
It has some lovely hand grips. Index fingers can rest just under the lens housing. Feels great in the hand(s).

Very sturdy, weight is also very good. Weighing around 750g mean it easy to use for long scanning periods.

Taking a look around the scanner.
The front.
Sporting Quad Depth Cameras for capturing small and large items.

A whopping 48 mega pixel RGB camera to capture those excellent color textures.
Up top is a single button. Getting those camera vibes again. This is the play button for pausing/ resuming scanning.

Around to the Right is the square power button.

Left is the usb-c multi-port.

Saved the best view for last. The very nice LCD screen.


Did I mention it flips up… ![]()

Let’s boot her up.

Greeted by a lovely Revopoint logo and boot animation. Very professional.


It has a super fast boot process. From off to scanning in just 26 seconds.
This is the fastest scanning setup I’ve ever seen.

Flipping the screen up auto rotates the displayed image 180 it so you can take selfies.

And if this lovely 2k AMOLED screen is not enough for you.
You can use the HDMI adapter and mirror your screen to another screen.
You can even screen record right on the Miraco itself. This makes its very easy for anyone to show their scanning processing.
This all in one unit is the only device you need
The ability to scan small item with an accuracy of 0.05 mm at 150mm or large items with an accuracy of 0.5mm at 600mm.
You can start, stop, resume and edit your scans on the go.
The built in battery provides up to 2hrs of scan time with a long standby time.
Scanner can be used while charging and remember it fast charges.
It has a 2.4Ghz 8-core processor for fast computing.
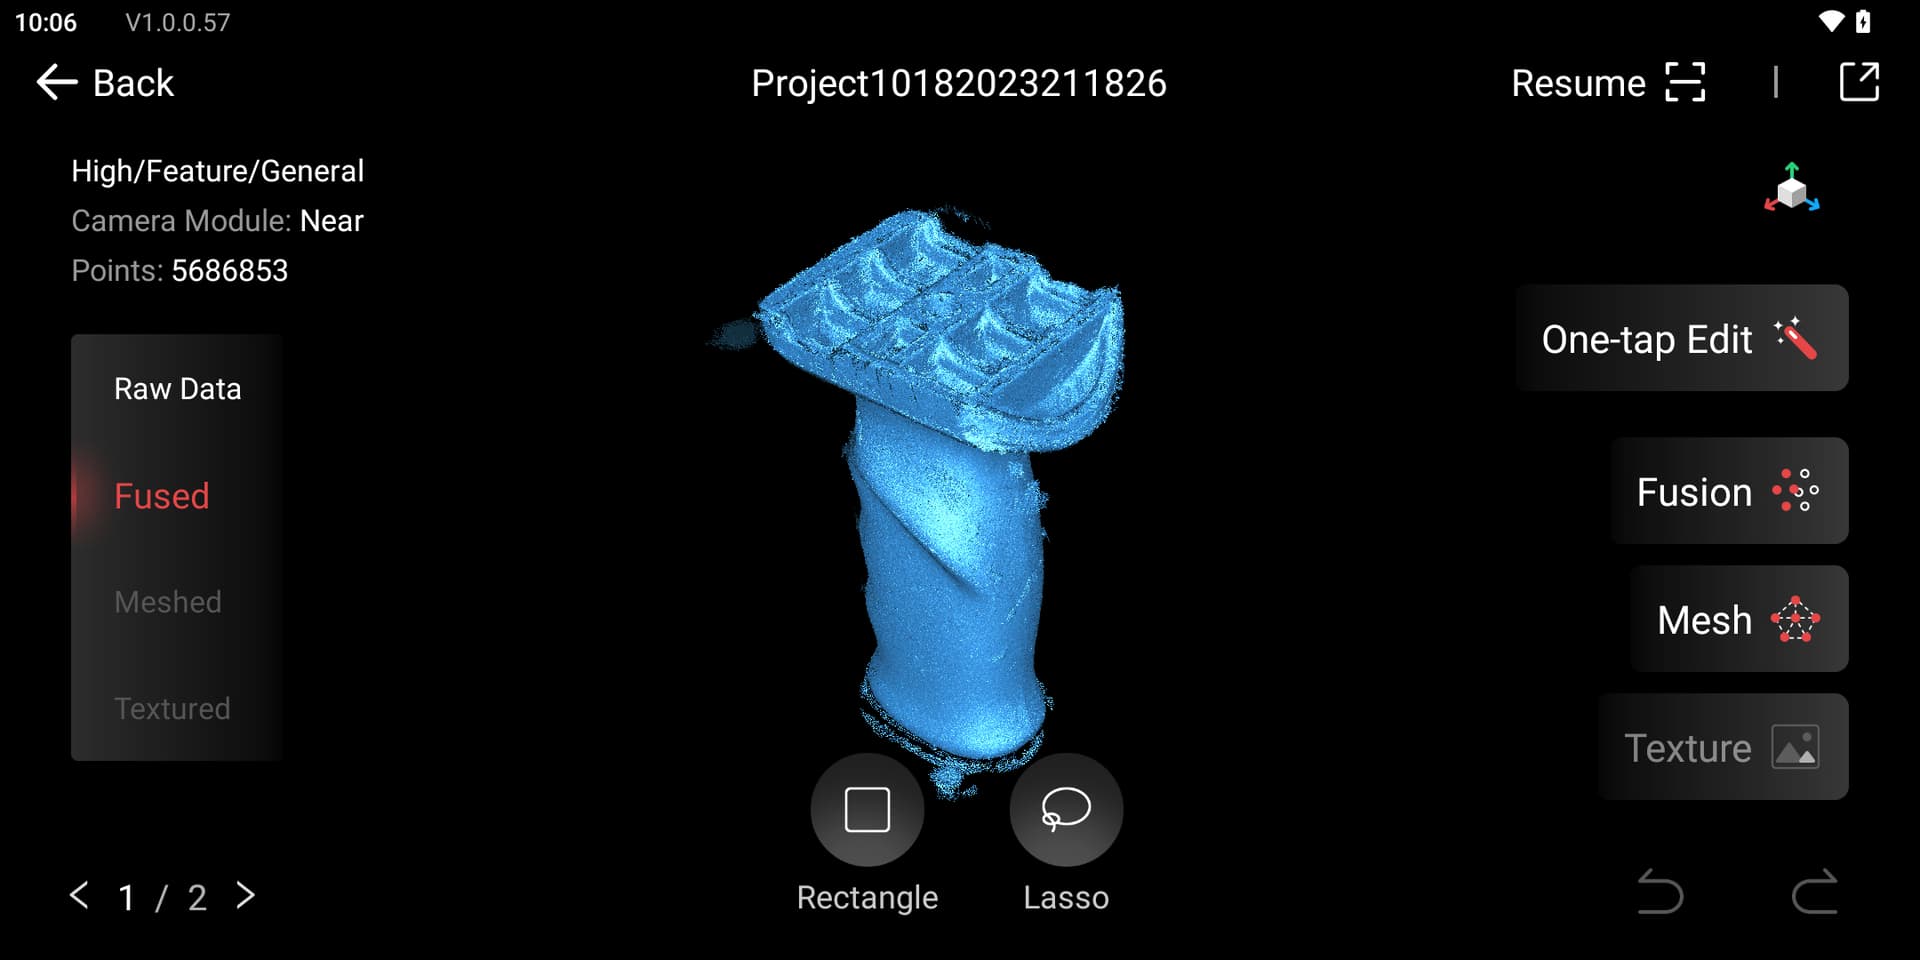
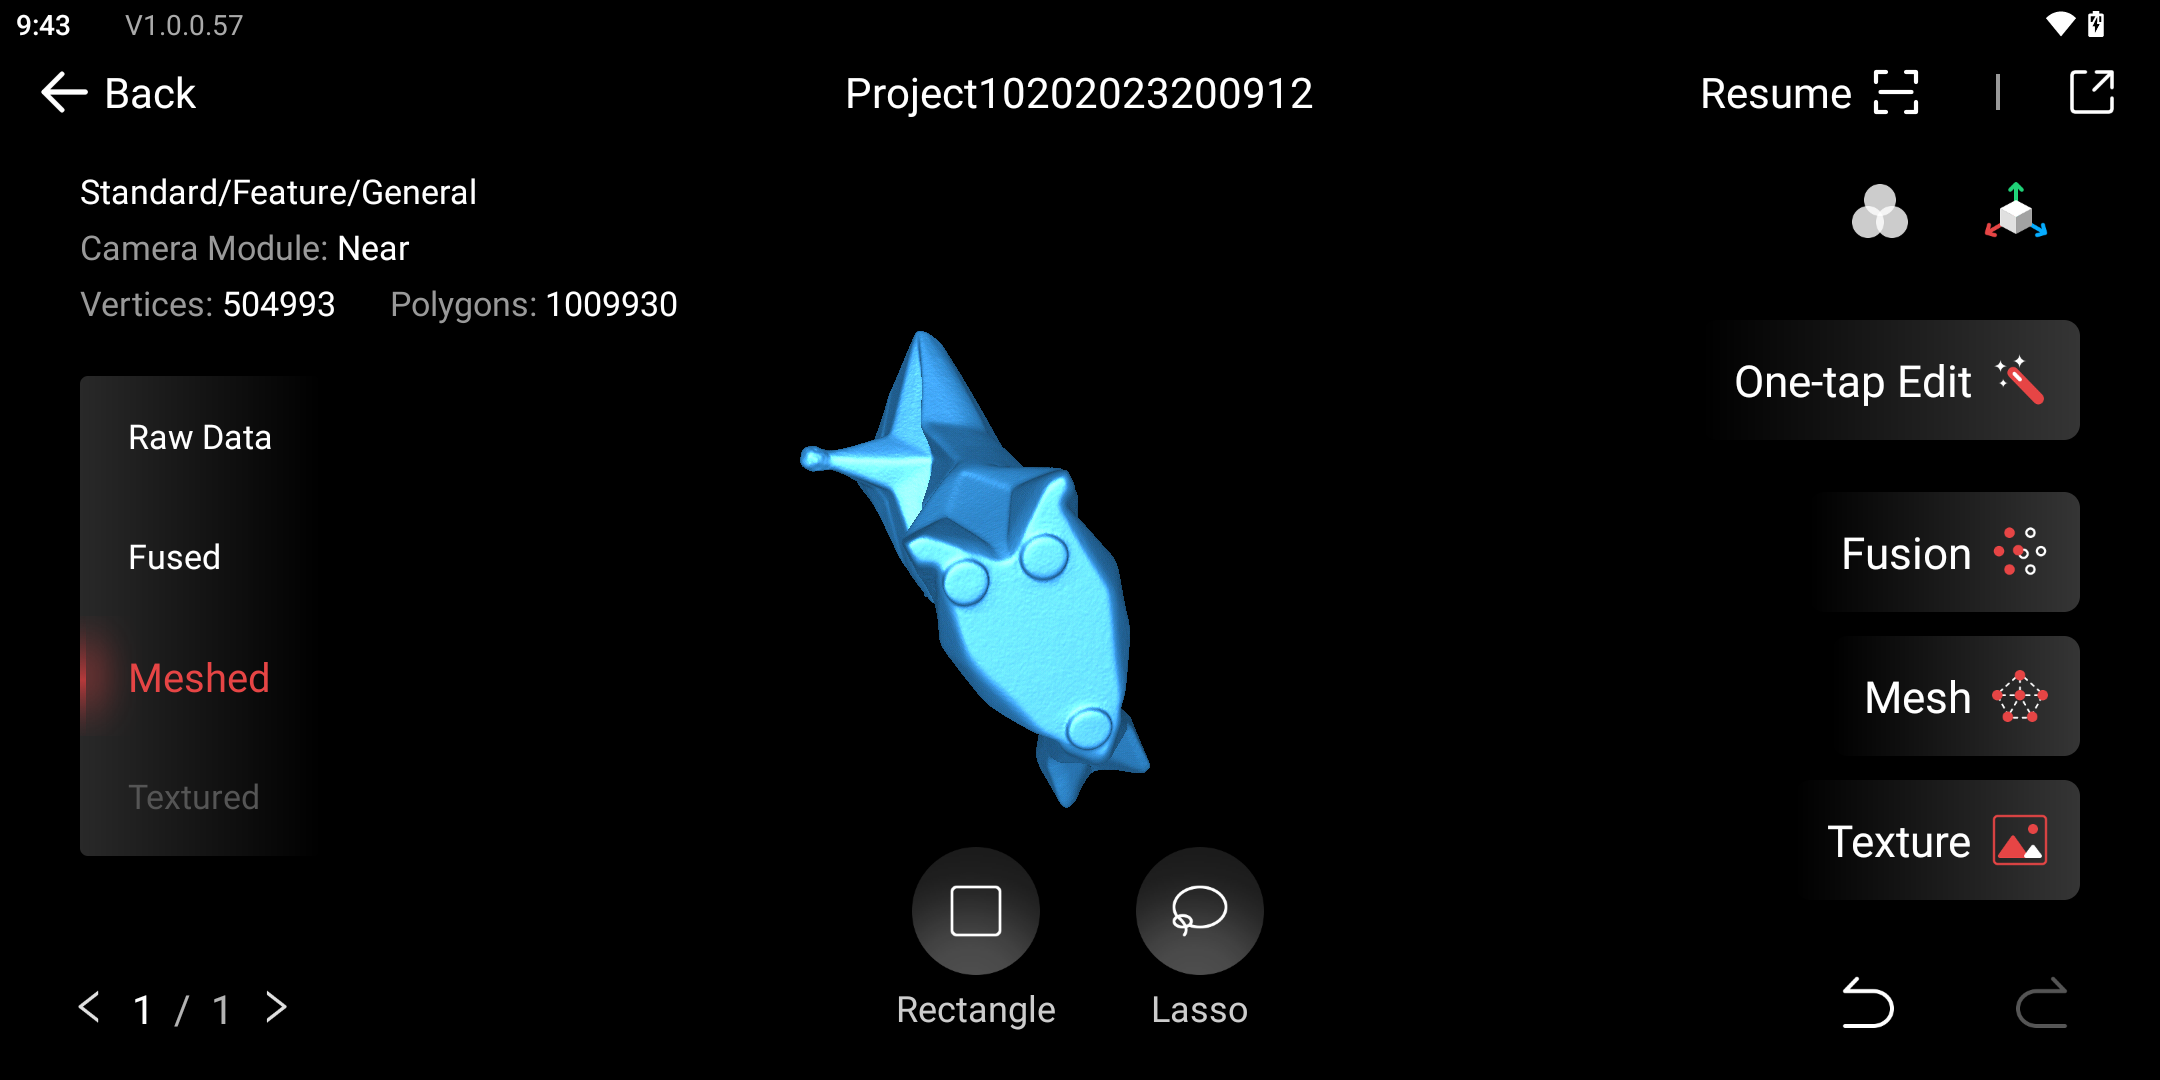
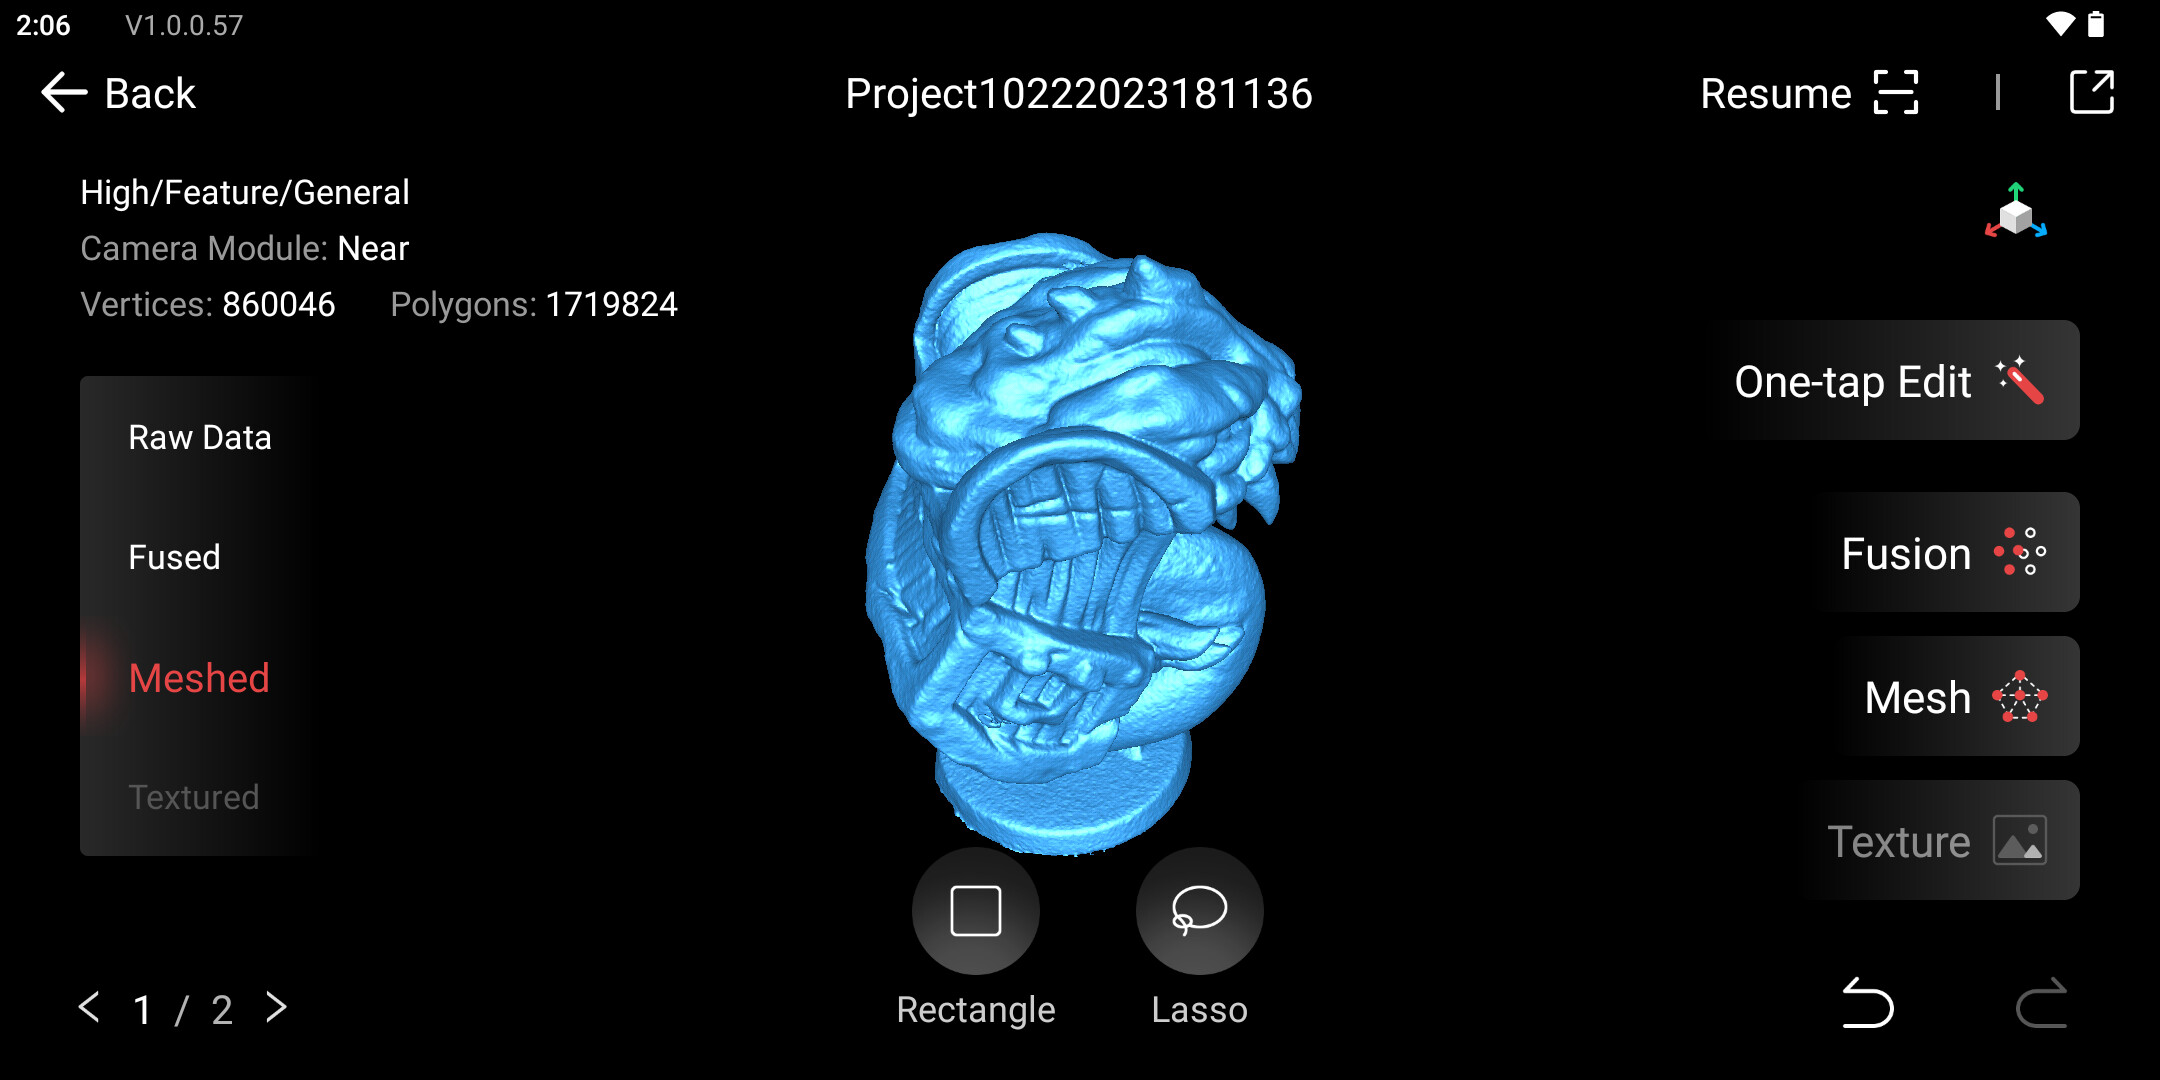
Running Revoscan right on the device. You can fuse point cloud, isolation , overlap tools, mesh and texture your scans.
Near Mode is scanning your small items.
Fear Mode is for your larger items.
And the best part is you can switch between them in a scan.
There is also a Single Frame capture mode. Which allows you to capture a single frame at a time. Very useful for some tricky items or angles you want to capture.
And your scans are not limited to the device. You can share them via wifi or usb cable to a pc/mac RevoScan desktop app. You import the full project, RAW data, fuses and meshes.
If you are excited about this scanner remember to check the Kickstarter link below
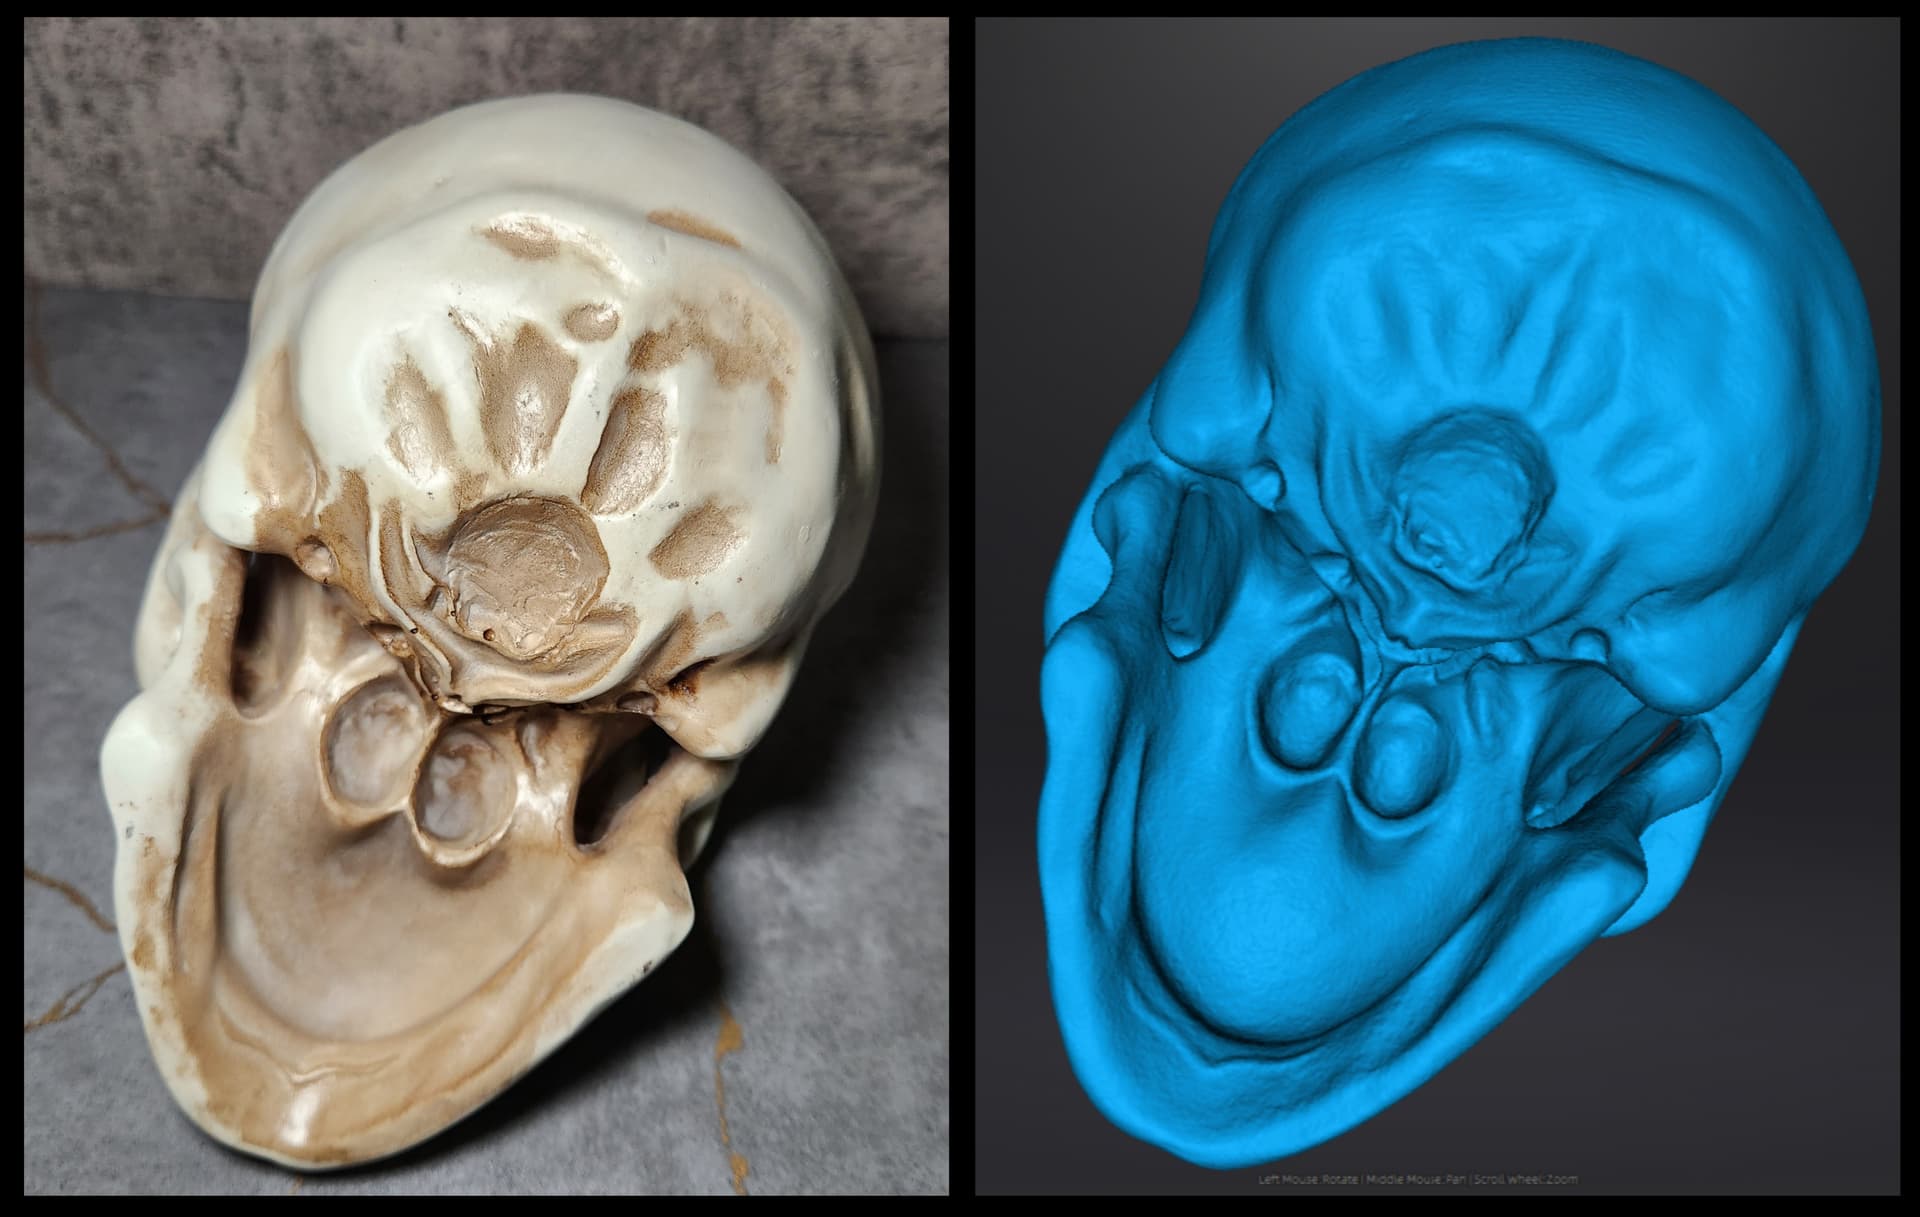
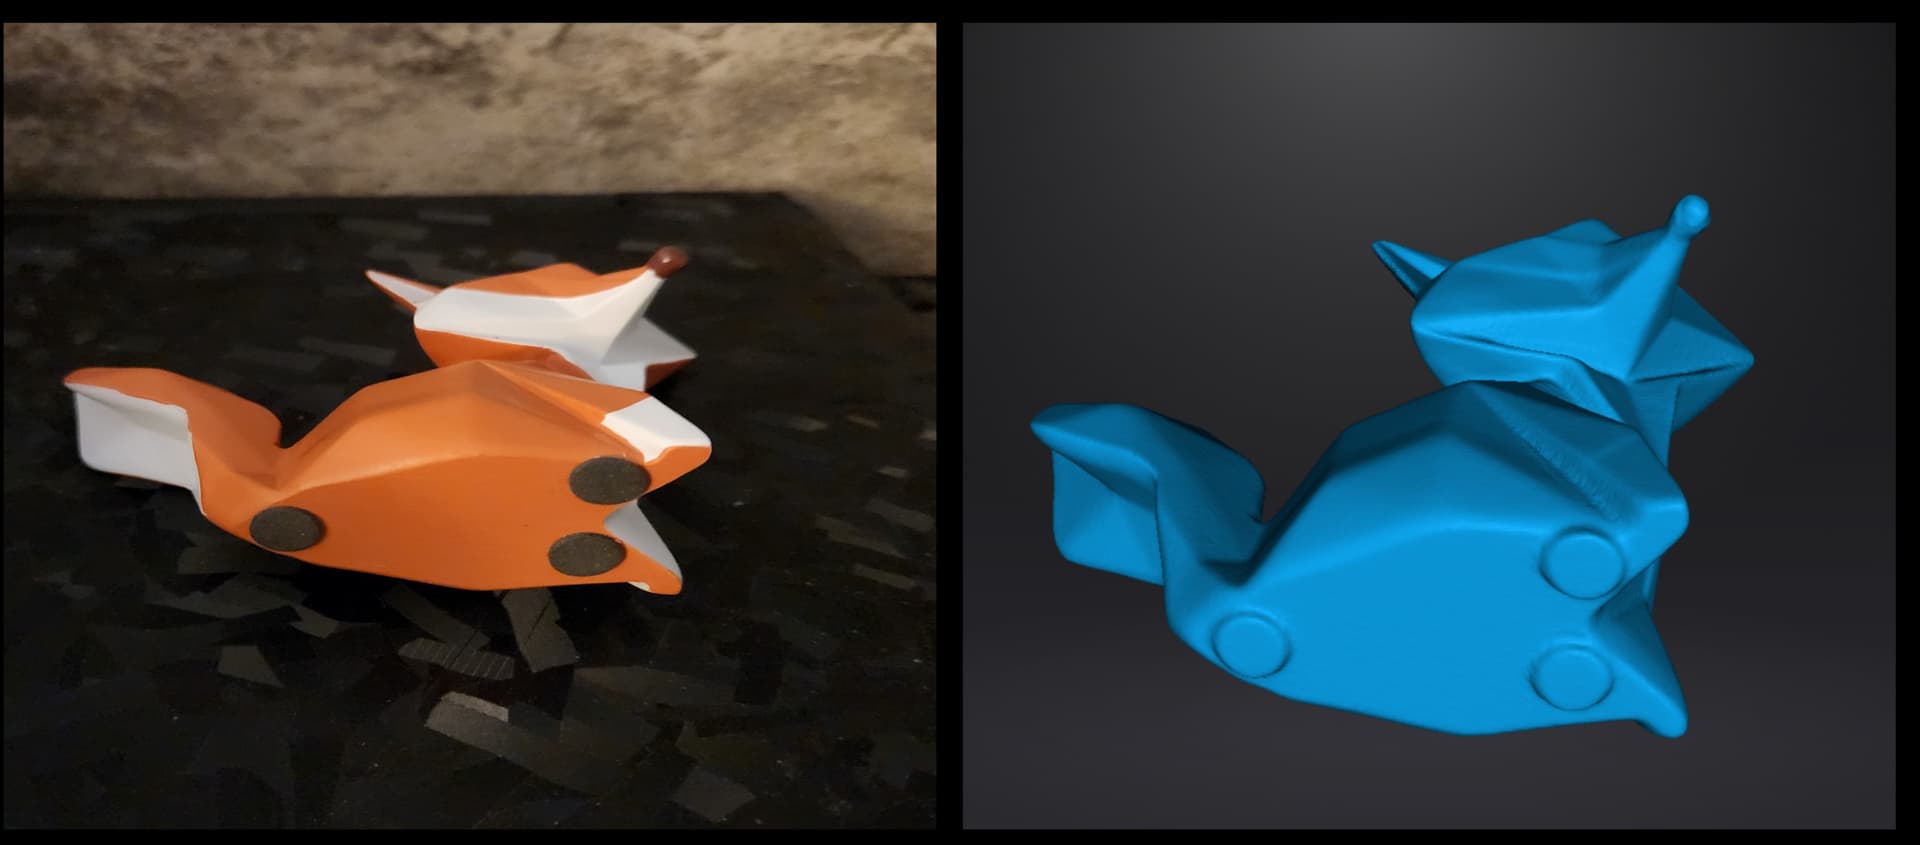
Enough Talking on to the Scans.