![]() Pre order MIRACO now on Revopoint official website: Revopoint MIRACO: Big and Small Object Standalone 3D Scanning
Pre order MIRACO now on Revopoint official website: Revopoint MIRACO: Big and Small Object Standalone 3D Scanning ![]()
Please note that this is a beta prototype, and the product ID and packaging are for reference only. The final mass-produced version may have differences.
Revopoint are cutting the cord and giving us the ability to scan without a PC or Mac.
MIRACO is a 3D scanner that provides a range of features to make scanning and processing models quick and easy. You can check the key features on the KS page.
Video unboxing

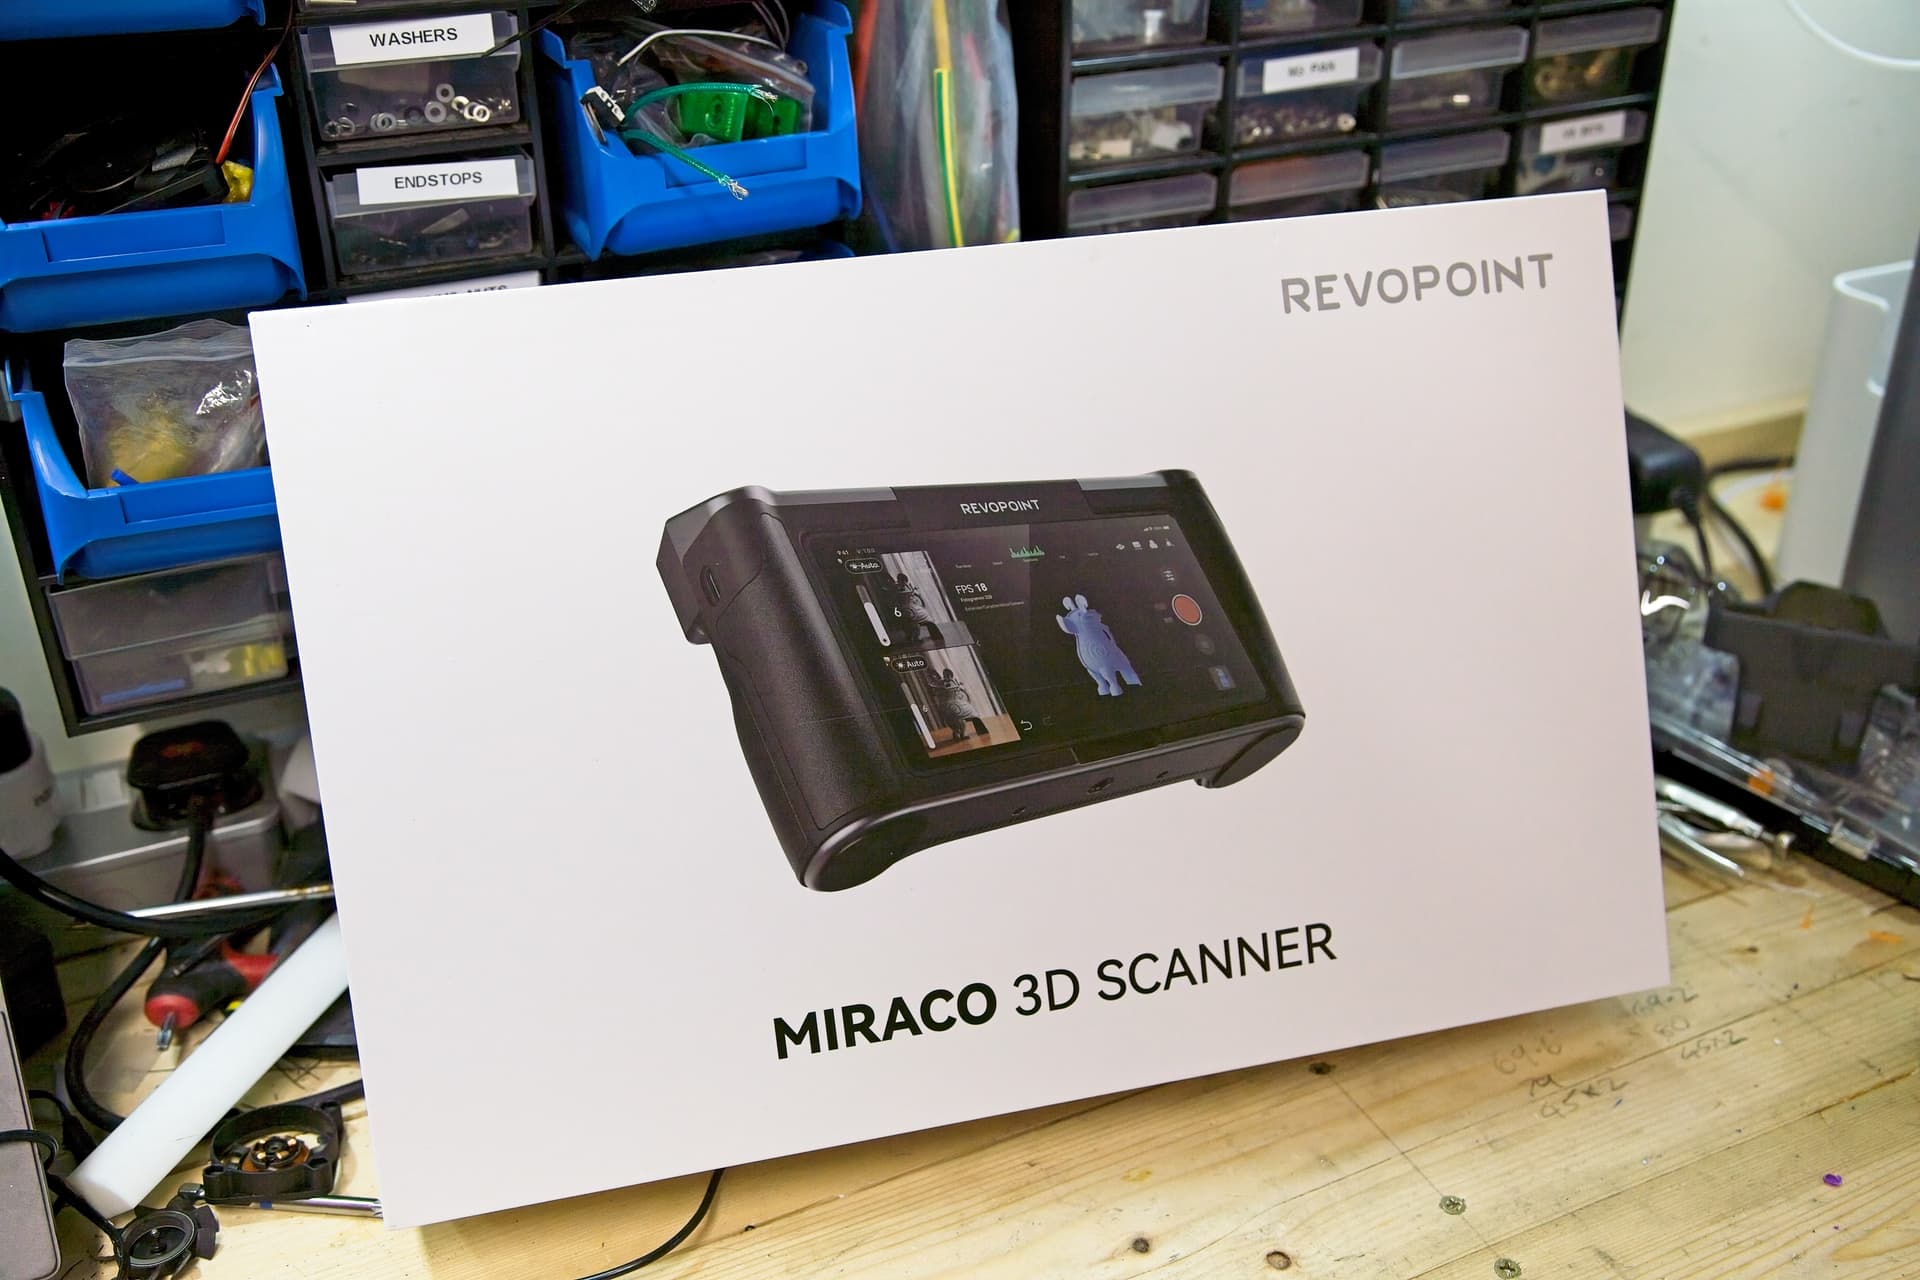
Here it is. Miraco comes packaged in the usual high-quality box made of thick cardboard with a glossy finish.
Inside is the usual array of plastic sealed items.

Removing the packaged items reveals the scanner, turntable, tripod, and bust. Note: the multi-country adaptors are unlikely to be provided with the final model as a country specific PSU is likely to be provided.

A good amount of markers are provided. These are the newer, reflective markers that we first saw with Pop3. The scanning market mat is also in the box.

The bust is provided again. This is the same size as the one provided with Pop3 and Inspire, rather than the smaller one that comes with Mini.

Here is the contents of the box, all set up and ready to go.

Selfie mode!

Miraco sitting with her brothers and sisters:

From top to bottom: Miraco, Mini, Inspire, Pop3, Range.

And here is Miraco powered on after I’ve done an initial scan of the bust. From unboxing to starting to scan is literally 2 minutes - which is the time the initial boot takes. There is no software to install. No cables to mess about with. Just turn on, scan, and go.

Miraco boot-up:

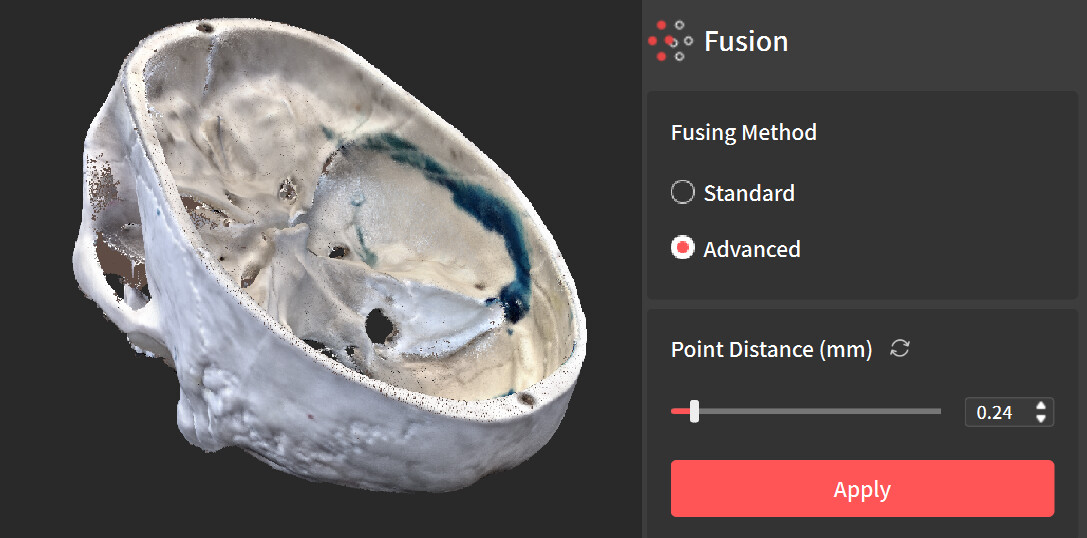
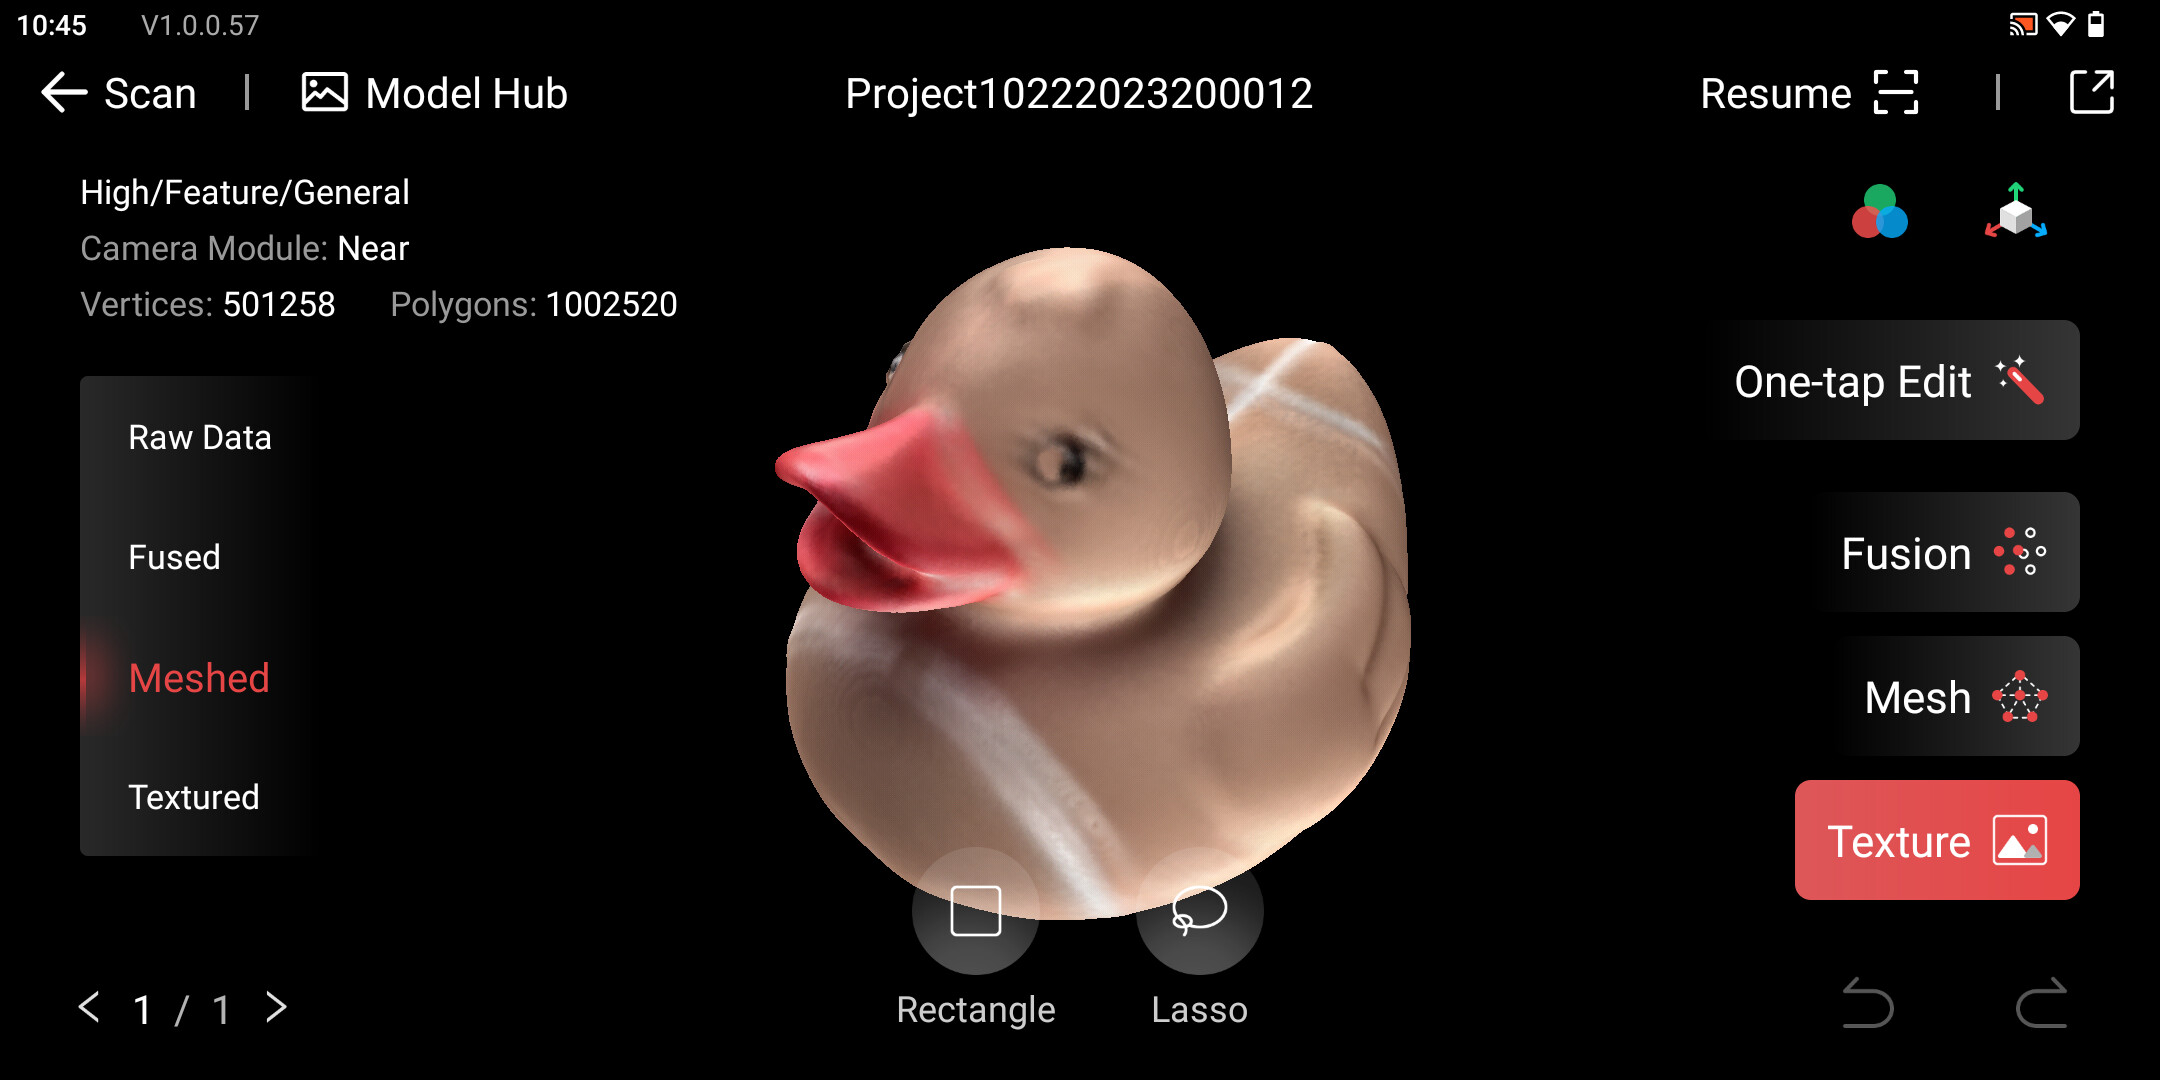
Scanning a part

Miraco - First Scan

![]() Pre order MIRACO now on Revopoint official website: Revopoint MIRACO: Big and Small Object Standalone 3D Scanning
Pre order MIRACO now on Revopoint official website: Revopoint MIRACO: Big and Small Object Standalone 3D Scanning ![]()