“No training required” and “works out of the box” is obviously marketing BS.
By now I had a few lackluster scans:
rambling
(I’m not implying the scanner is at fault, it is clearly a user error though, there might be improvements to be made in the software that might correct user errors)
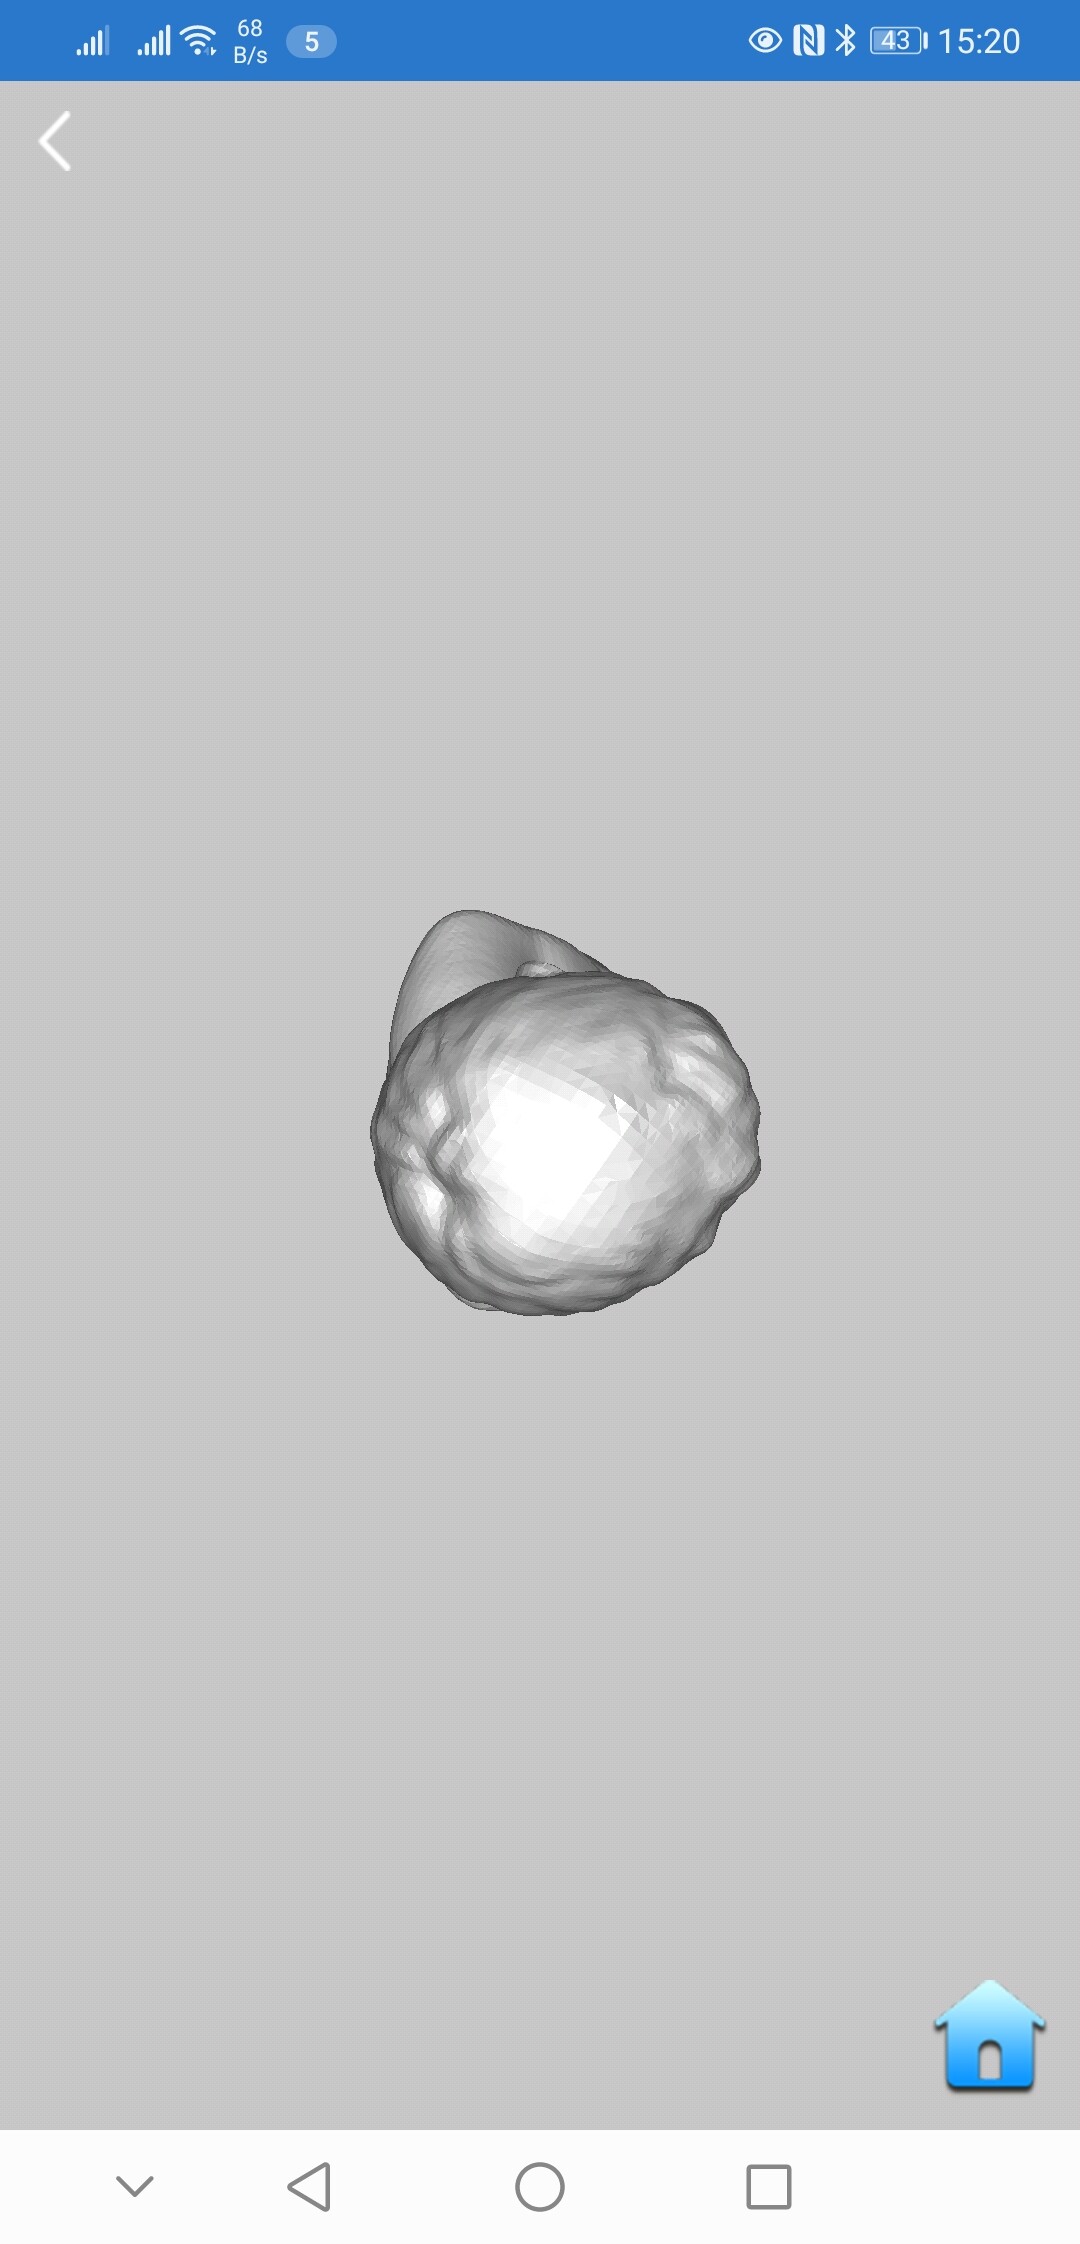
One scan did forgot details in the grid it already had in the point cloud. Resulting in poor Augustus (the bust is Augustus, right?) getting not only in a bulgy pedestal, but also a new haircut … which also included the ear … poor guy (I think) that did hurt.
Images/details
Bust was scanned standing up and laying it’s back. ~ 500 images in total.
Missing detail ear
Missing detail base
Missing detail hair
Another scan got smeared. While the preview point cloud looked good, the mesh included 3 copies of the scanned part which where offsetted to each other on one axis.
(I deleted it instantly)
The second time I scanned it it kinda came out ok,
ok
(it lacked some features, because I only scanned it from one angle on the turntable
but it lacked in resolution.
images
Question are:
- Why did I have those two failures (even guesses are welcome), and how do I avoid it in future?
- Is there a way to improve the resolution?
- How do I improve the scanning quality/resolution? (Any hack or so)
Sad to say but personally I don’t use the turntable, because they go too fast.
I can recommend to put the scanner stable in a table, put in black shirt and black gloves, take the object in hand, and move them front of the scanner, it’s my preferred Small things scan methodology
4 Likes
One thing to keep in mind to improve scanning is a structured light scanner such as the Recopoint POP projects a pattern typically lines. So orientation of the scanner while scanning has much to do with maintaining or losing the section of the scan underway.
The reason scanning an object on the turntable while the POP is on a tripod in a fixed position gets better results than hand scanning.
Look at any Youtube video where the person is hand scanning and getting really good results, they all keep the orientation of the scanner the same as much as possible.
Want to test this out? Mount you POP on a regular camera tripod and then sit in an office chair and spin yourself in a circle, then try it again hand holding and see which returns better results.
3 Likes
Tripod and office chair. Nice suggestion.
That’s how I generated head scans with my Kinect and ReconstructMe software, years ago. Set the Kinect on top of my monitor, swiveled around 360º in my office chair. Got great results. Not high enough resolution, but the process itself worked as desired.
1 Like
Hello, so I’m very new to this, so take any suggestions with that in mind. I tried scanning the same object multiple times and had pretty good results right away. Firstly, I used my desktop computer with plenty of memory, which allows for scans with a lot of passes. Since the scanner uses IR light, it seems to work best in fairly low light. Too much shine or bright light will obscure detail.
I used the turntable and let it run for several full rotations. Once I felt I had scanned it well straight on, I paused the scan and changed the position of the model on the turntable. (Always keep the object as close to center as possible. Off center scans will be wonky and might switch from “excellent” to “good”
I realized that when I pause the scan, I can move the current model on the screen to match the new position of the actual object. Pause the turntable BEFORE pausing the scan. This makes it snap to the new position much more easily.
After a couple changes in position, and several rotations I have gotten some really nicely detailed scans of both the bust included in the pack and also a small porcelain figurine.
I also noticed that I got better results if i exported the PLY straight to the Handyscan Studio App and closed holes and exported it from there rather than use the features in the Handyscan app. I don’t know why, but it just seems to be the case.
TLDR recap
1 LOW LIGHT
2 CENTER YOUR OBJECT ON THE TURNTABLE
3 TAKE MULTIPLE PASSES WITH THE OBJECT IN DIFFERENT POSITIONS
4 ROTATE THE SCANNED MODEL TO MATCH THE POSITION OF THE ACTUAL ITEM
5 PAUSE THE TURNTABLE, THEN THE SCAN
6 TRY USING THE HANDYSCAN STUDIO APP TO CLEAN UP SCAN DATA
7 TRY USING A COMPUTER INSTEAD OF TABLET OR PHONE
I hope some of this helps. Please let me know if it does or if you find any of this to be in error.
Elijah
4 Likes