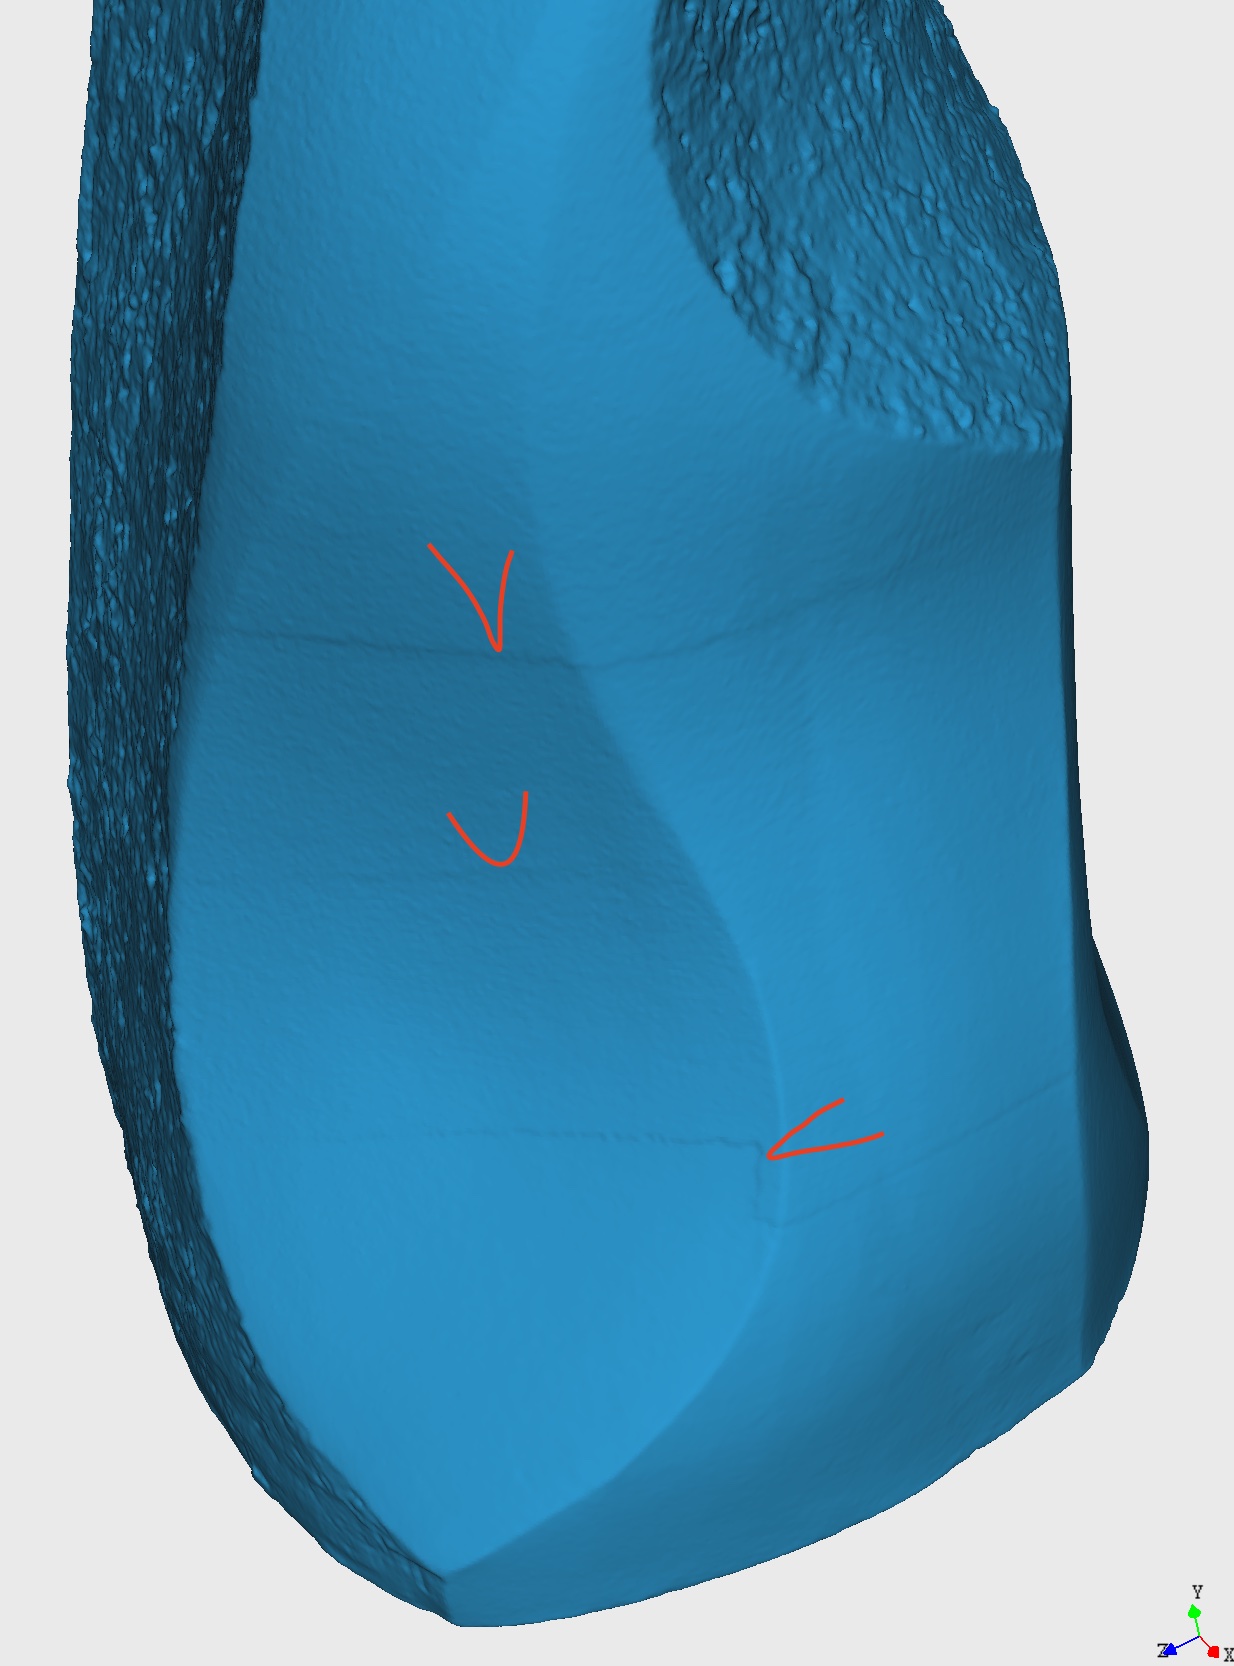
Hi, I’ve scanned some sculptures of between 20 to 30cm in height, and I am having some visible stitch lines after aligning the scanned parts into one model. I use the turntable to scan the sculptures, each time a 360 at a different height, till the whole is scanned.
What causes these stitch lines and how can these be prevented or cleaned up?
The simplest method I can think of would be a 3D surface modeling tool that can smooth selected areas of a scan. The best are quite expensive, but maybe the free Blender software would have the functionality you need.
The ‘seams’ seem to be parallel to each other. Did you scan parallel to these seams? Perhaps with Fill Holes used during Fuse or Mesh? If so, then you could try scanning again while moving the scanner both up/down & right/left.
Yes, I scanned parallel to the seams, each time a band of 360° then higher until the whole was scanned. I didn’t use Fill holes. I did use, the Overlap detection and Isolation.
Usually the lines will appear only if there is distance difference while scanning , what means one scan got more dense and better volume accuracy than the other .
MINI distance range is very small , so even small difference in distance can have impact , it is like scanning one part in lower accuracy than the other and I can see clearly the one part of the model is at higher accuracy than the other .
Revo Studio don’t have an option to equalize the 2 scans surfaces after merging so after you meshing it , one of them get different volume accuracy as the other .
Revo Studio don’t register the merging as precisely either but the major issue is lack of equalization of the surface between both scans . You can try to simplify the point cloud after merging at slightly lower point cloud resolution ( before meshing) sometimes it works to get rid of the seam.
You can try to merge the scans you made using Cloud Compare , you will have more precise options to merge them together , equalize and proper register the point cloud.
Thanks PUTV for the detailed explanation, so there are two options, simplify point clouds and Cloudcompare. First I simplified the separate scans in RevoStudio, saving them again, then aligning them and meshing. The end result showed no visual difference with the first scan, the lines are also still visible.
Then I tried Cloudcompare according to your video tutorial.
It does remove the stitching lines better than RevoStudio but it also loses detail as you can see in the pictures. The loss in sharpness is significant in Cloudcompare, could you tell which numbers I can adjust to keep the sharpness?
Hi @Martijn
Can you please send me the 2 original scans you used above to my email putvmail@gmail.com for investigation.
I will be able to tell you exact the numbers , I want to try one more thing .
I scanned two new sculptures and did the Aligning in RevoStudio, the result was mixed. One Sculpture was really good, no stitch lines but the other did have them. To test if they would be visible I 3D printed it.
Left the original, right the 90% sized 3D print.
Gave CloudCompare a try again with this scan and aligned the scans, I does a better job I guess, because I got them stitched beautifully. Then exported the point cloud and cleaned it further in RevoStudio where I also meshed it, see pic below Here is a Sketchfab link to see: FusedRevoStudioClean - 3D model by martijne [8ffb115] - Sketchfab