REVOPOINT INTRO POP3

![]() TO ORDER POP3 FROM USA PLEASE CLICK HERE : Revopoint POP 3: Portable 3D Scanner for Vibrant Color Scans
TO ORDER POP3 FROM USA PLEASE CLICK HERE : Revopoint POP 3: Portable 3D Scanner for Vibrant Color Scans
2:TO ORDER FROM EUROPE AND THE REST OF THE WORLD PLEASE GO HERE : Revopoint POP 3: Portable 3D Scanner for Vibrant Color Scans
Hello my friends , finally here POP3 , a new upgrade for the POP’s series
You ask yourself what is the difference between POP2 and POP3 ?
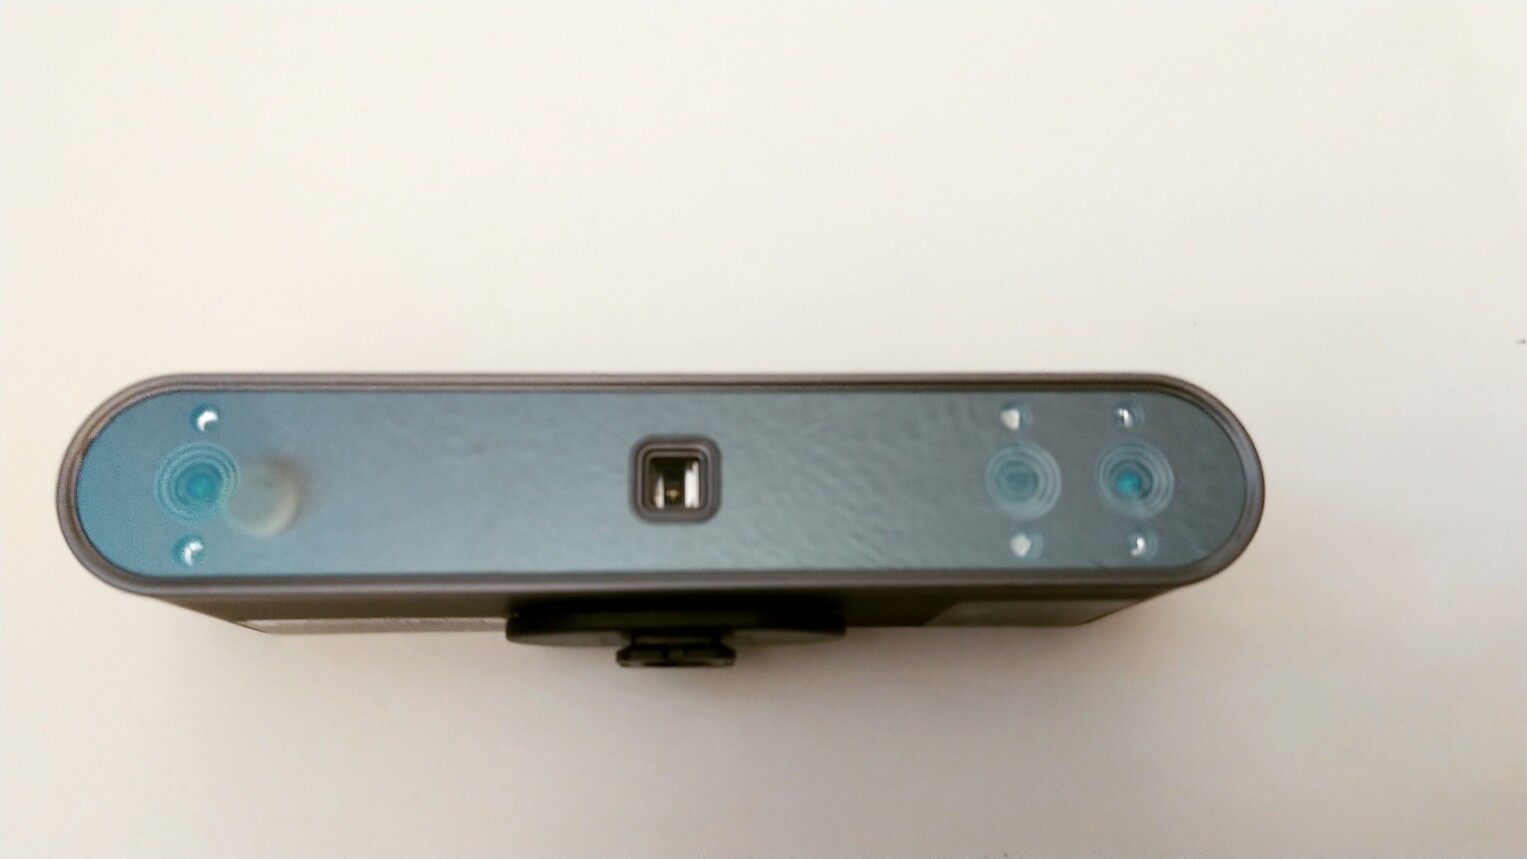
POP 3 has a 20% bigger RGB camera aperture and 2 white LEDs for better color scanning, an IMU for improved frame stitching, 4 infrared LEDs for improved marker tracking, faster scanning speeds (12 to 18fps), improved connectivity, and an easier-to-use design.
Point Distance/Resolution
Up to 0.05mm
Single-frame Precision
Up to 0.05mm
Single-frame Accuracy
Up to 0.1mm
POP 3’s IMU is a 9-axis IMU with a gyroscope, accelerometer, and magnetometer that all work together to help POP 3 understands its location as you move the scanner around an object. This, in turn, helps POP 3 to provide smoother frame stitching as well as helping to eliminate any faulty frames captured caused by shaking or moving too fast.

POP 3 uses class 1 infrared structured light, dual depth cameras, and advanced algorithms to output detailed 3D models.Do you need a powerful computer to use the POP 3?
No, the POP 3’s algorithms and internal chip do most of the processing.
Minimum specs: Intel i5, 8GB RAM.
Recommended specs: Intel i7, 16GB RAM.
No discrete GPU like an Nvidia or AMD graphics card is needed to use POP 3.
What in the Box ?


And here some showcases done by me using POP3
Tested multiple merging with POP3 , I am surprised by the details , normally I get this level of details with this small 4inch skull only with MINI .
The merging was using feature mode , smooth and quick after cleaning each scan separate from overlapped points and lose points .
Point cloud of all angles , inside and out using Feature mode ( normally I need marker mode to capture the top-back of the skull , it worked great in feature mode without losing of the tracking for the first time ever )

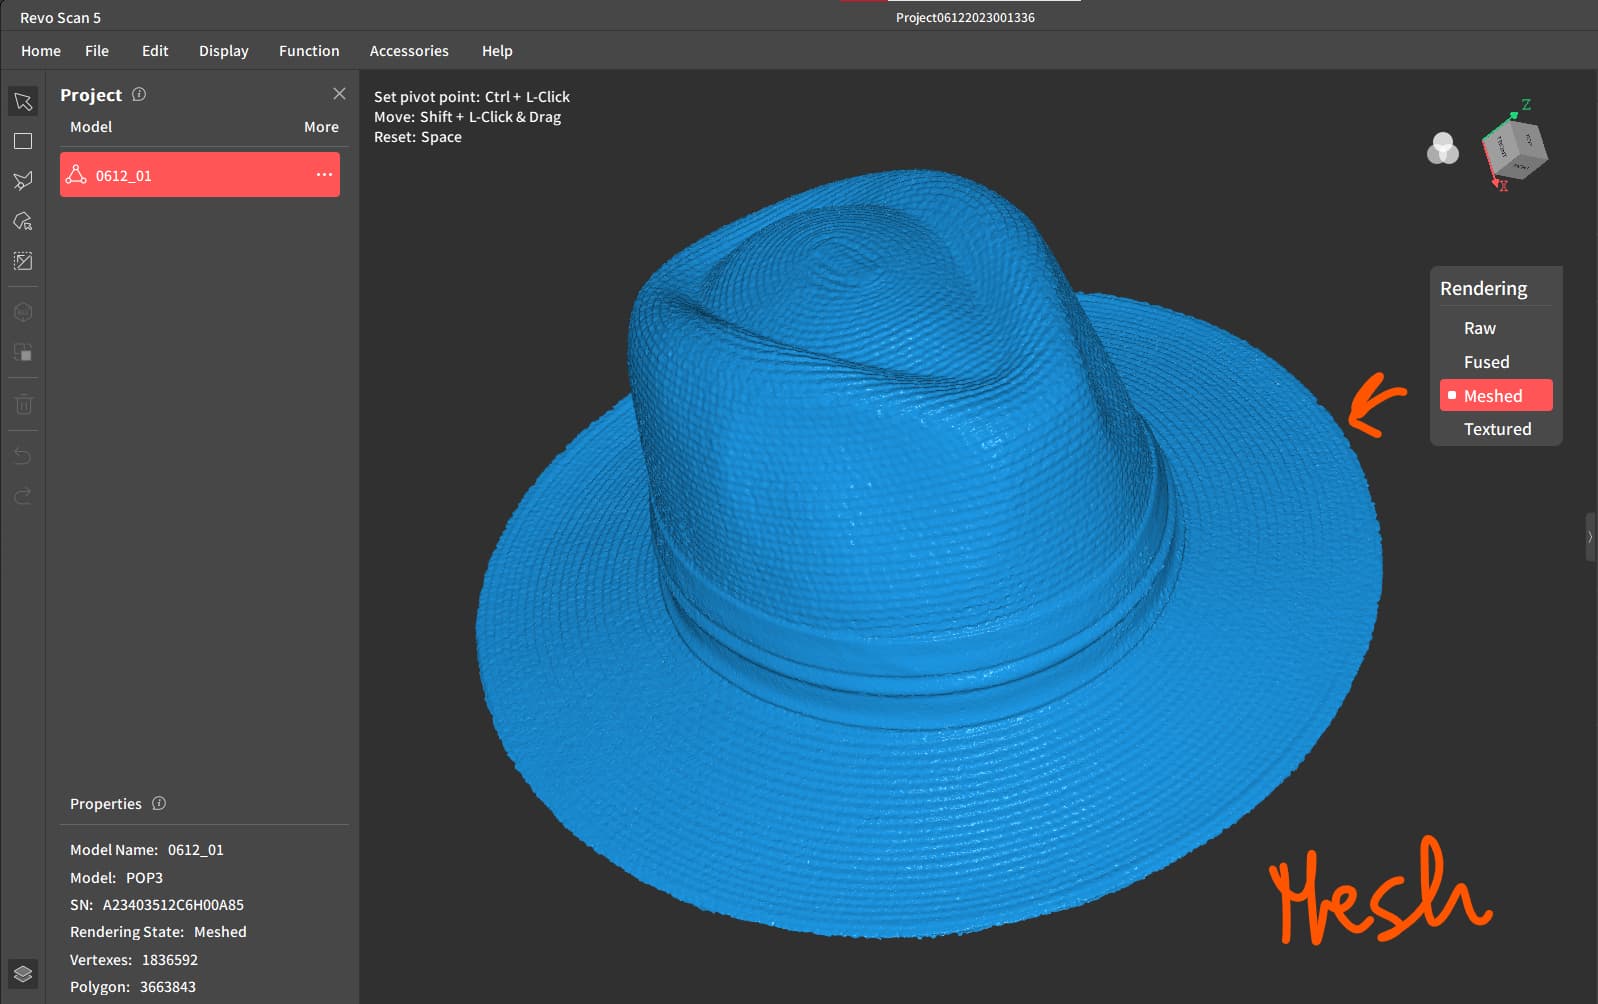
Meshed final full skull

Meshed Bottom

Point cloud of the inside top

Point Cloud of the Inside of the bottom

RGB color per vertex

Another Showcase:
Imperial Lion , material Marble-Jade 5inches
scanned with multiple angles

Merged and Meshed
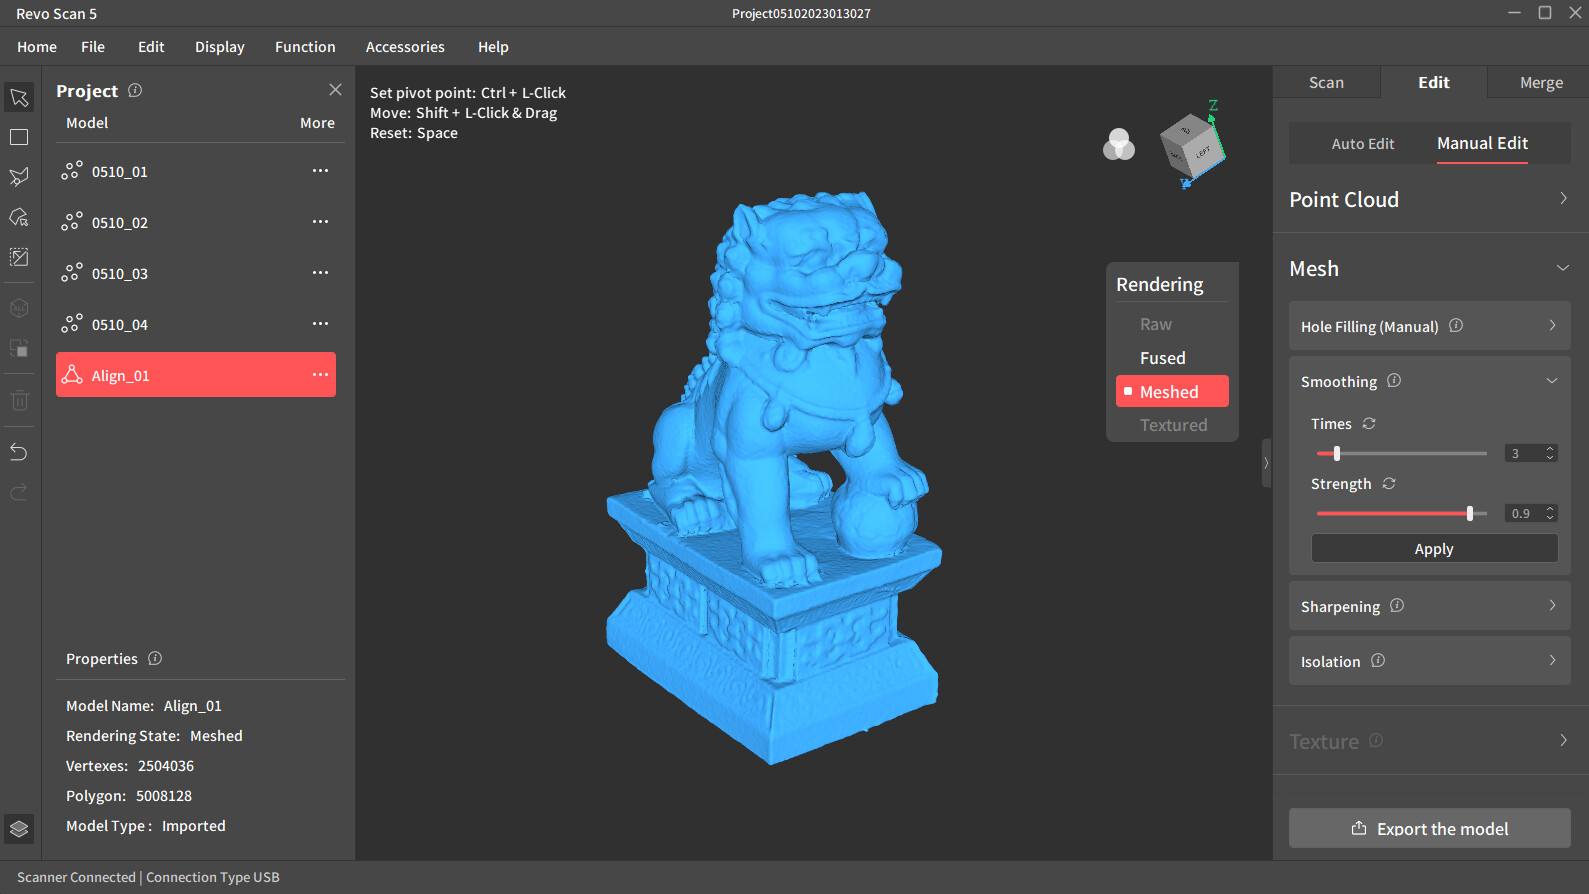
Merged and Meshed

RGB color per vertex, merged and meshed

More Tests
POP3 Advance mode Pitch Point 0.93
Scanning in Standard Mode in Color


More clothing tests
POP3 Advance mode Pitch Point 0.93
Scanning in Standard Mode in Color


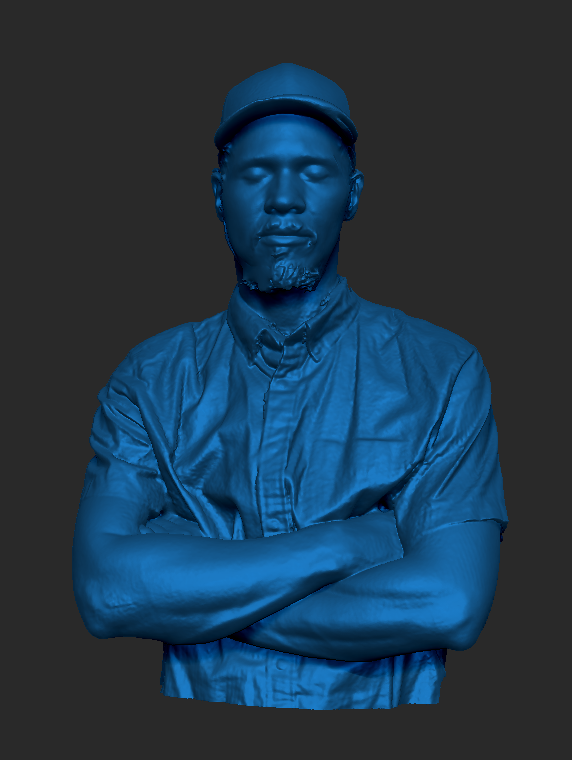
What would be a scanner test without my husband? ![]()
This is just RGB color per vertex , NO TEXTURE .


This is a printed Duck that I made and my son painted it .
Scanned with Standard mode, Point Cloud cells fused at 0.23mm
3D


Pitch Point 0.23mm

One of my son’s Minecraft set The Fox
3DScan

3Dscan


Fruit anybody ? ![]() The texturing with POP3 is awesome …
The texturing with POP3 is awesome …


to be continued …