I’m brand new to revopoint, and to 3D scan also. I bought an Inspire scanner last week, and scanned two parts right now.
I’m pretty impressed by the ease of use and staightforwardness of RevoScan.
Anyway, I feel I need some advice or hints to get better scans.
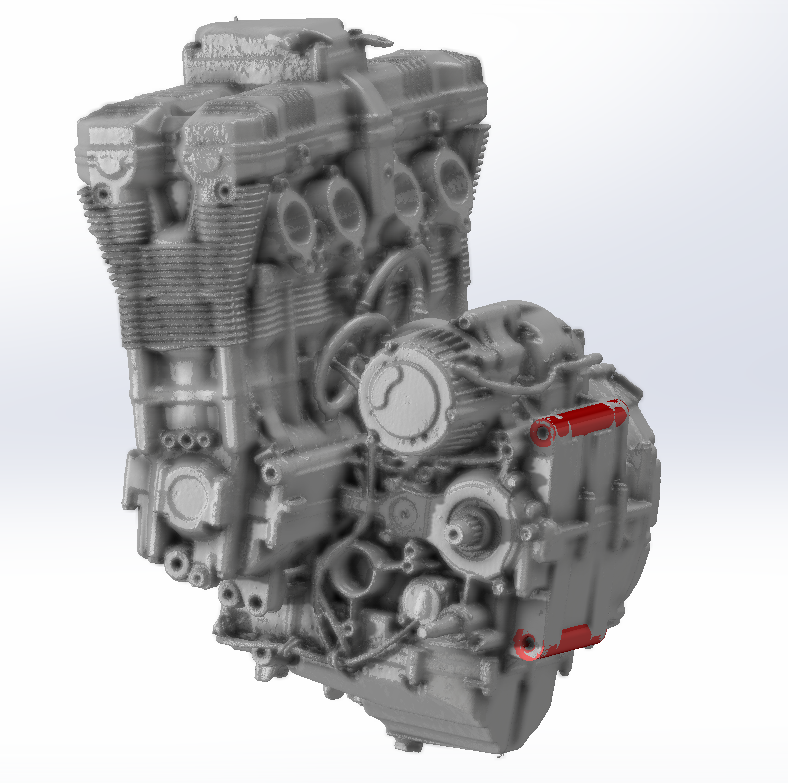
I’m using my Inspire scanner to retro-engineer motorcycle parts, the final goal being to adapt new parts to (or modify) existing parts.
Surface details or fine texture are absolutely not needed. What is the most important for the purpose is getting parts features the most precisely located.
For my two first scans, I made about 10 to 12 partial scans that I first fused, cleaned, and then merged two by two. Between each merge, I cleaned again the result.
What is the best way to get the most accurate scan? (like merging more scans at one time, cleaning after merging, etc)
Also, I relied solely on feature for tracking. Is it better to use markers?
Welcome to our community
I think you did great job , that is the best way to get the most accurate results by scanning many angles and merge them .
Scanning using features is great if your objects have enough of features , marker mode replace the needs of features so it relay on markers only … Features give you more accurate tracking .
Best results you get if you keep the distances as much as possible closer to each other , for example if you scan with excellent distance , keep everything else in excellent distance , changing it may affect the accuracy .
I believe you did great job already , the best learning curve is by trial and errors as each object needs individual approach and solution .
For large items, we recommend mixing isopropanol + baby powder in a large spray bottle and then spraying it on. This doesn’t cost much and avoids reflections
I will stay with feature tracking as long as parts are complex, and I will try different settings regarding depth filtering for my next scans to see how it affects accuracy. I will also have to find a way to scan large objects while checking the distance at the same time.
I will try the alcohol + chalk mix. I scanned the engine after applying AESUB blue, and I needed a full can. The result is great I think, but the price is a problem.
Try better Zinc Oxide non nano with alcohol, much better accuracy and cheap , also switch to Attblime, half the price and best accuracy you can get , I use their ABX 1L in a container with my airbrush , double the amount for half the price of a spraying can .
AESUB Blue have lower accuracy, last too little time and too expensive.
Hi and happy Xmass, Cath! can you please tell me among non nano zinc oxid powder, what is the smallest particle size you advise using for DIY scanning spray considering health.TIA!
All non nano are better when use with spray bottle … if you use with brushing on manually you can use nano , but they are more expensive too . The finest I used was 2 microns for dental scan . But since you scans lots of dentals, buy yourself Attblime ABX in a canister 1L … it will last for a very long time and is very good only 3 microns , you can use with air brush or with small brush to scan very fine elements and crowns .
As long you use 20 or less microns you are ok ( the hair is 50 microns )