I purchased a Metro X and I’m finding it extremely difficult to use. I’ve exausted hours trying to figure this out. I’ve followed ‘MetroX Laser scanning How To and Tips by Jermaul (xile6)’ but still can’t get a good scan. Whether its auto turntable, or full field - nothing is working. Spray or no spray… markers or no markers diff angles. I feel maybe I have a defective unit? Any help would be welcomed!!!
Welcome! It can seem frustrating at first and there is a bit of a learning curve to it. But you’ll get it soon enough. From what I can see in your picture you are trying to use feature scan and the auto turn table. The part you have on there does not a have a lot of features though. It is mostly flat with many symmetrical slots. The MetroX has a small field of view (FOV) and can only see so much of the object at once. It gets confused at to which part of it is looking at and already looked at.
If you want to do auto with this part, I would do it on marker mode. Make sure you can see at least 4 markers at any given time. They will light up red on your screen. If you have markers on there and the scanner is just not seeing them, then you need to mess with your depth and laser brightness settings until they become visible.
Keep at it and keep updating us with detailed accounts of settings you are using. We’ll get you making beautiful scans in no time.
I see the problem from the screenshot , you trying to scan a featureless object using Auto mode , you need to choice a marker mode for this kind of object and put the scanner at 45 degrees in relative position to the turntable so markets are visible .
Please uncheck the base removal option , this is one of your problem here , elevate slightly the best object above the plate, just slightly by putting something small under it .
After that you will be able to scan it without issue in Auto mode or Full Field.
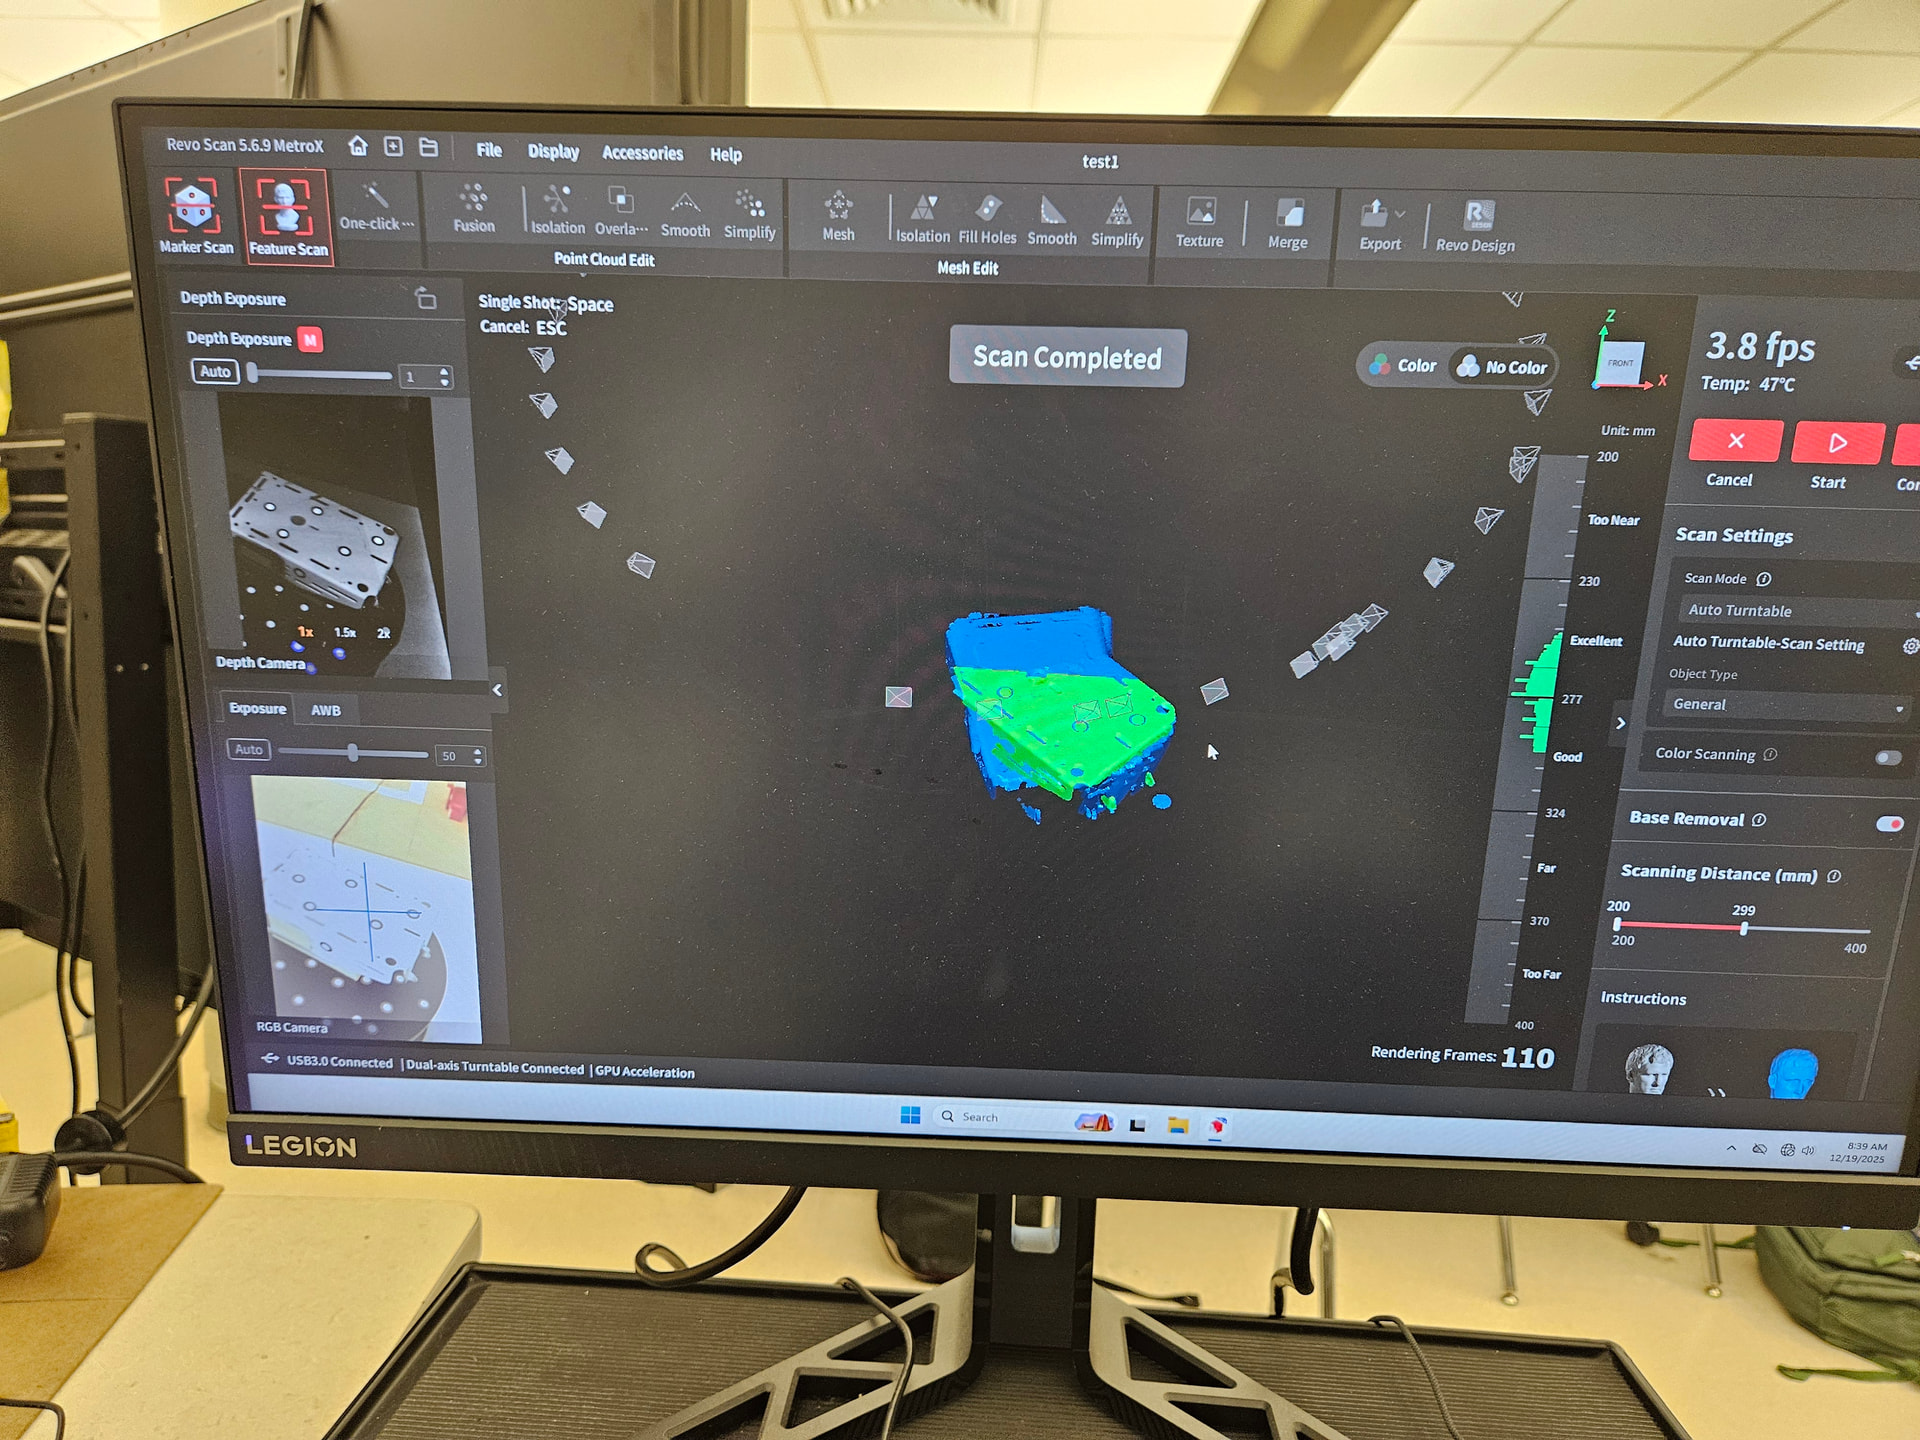
Ok thanks for the responses. I propped it, turned off base removal, and have it at 45 degrees. Switched modes - didn’t end well. I guess I will have to spray and remark with dots? During full field feature scan mode I should still use the turntable right? I took several pics but I’m only allowed to post one. I’m hoping this is the best choice! For reference, my piece is a satin-type finish aluminum chassis that I want students to reverse engineer a robot around.
Your screen shows you are still using feature mode. If you want to use markers than you need to use marker mode. Full field can be done with feature or marker mode and with or without turntable. Turntable will likely give nicer results but it can be done handheld without the turntable also. Note that when selecting different modes in the software it can jump around and change your selections back to defaults, so each time you change an option a person needs to make sure everything is correctly selected before scanning.
Ok thank you all for the help. I am making progress! I made sure I had marker mode on. I first did the global marker setting and then scanned the part. It came in with a pretty hefty mesh after several smoothing passes. Onshape had a tough time dealing with the size of the STL file! Is there a reason it isn’t coming in flatter with crisp edges. I think i need to turn a detail setting down or something.
whenever you run smoothing it is going to start messing with your mesh. For RE i try not to do any smoothing, just keep the raw data. Fuse and mesh at the same point distance for best results. Then do isolation and overlap clean up. Mesh. The run simplify mesh to reduce number of triangles. As you reduce you will lose some definition though. Its a balance.
Sharp edges are always going to be tricky. You best bet is to do multiple scans and then merge them together. If you just do the scan in the orientation you have shown you will lose detail on those edges.